Two LED landscape spotlights can use the same wattage, the same CCT and even the same nominal beam angle, yet create very different results after installation.
One may spread a soft field of light through foliage. The other may hold a tighter beam on a column with less light outside the target. The difference often begins with the secondary optic: a reflector or a lens.
Neither is universally better. The useful question for a project buyer is: which optical system gives the required beam quality, glare control and visual result in this application?
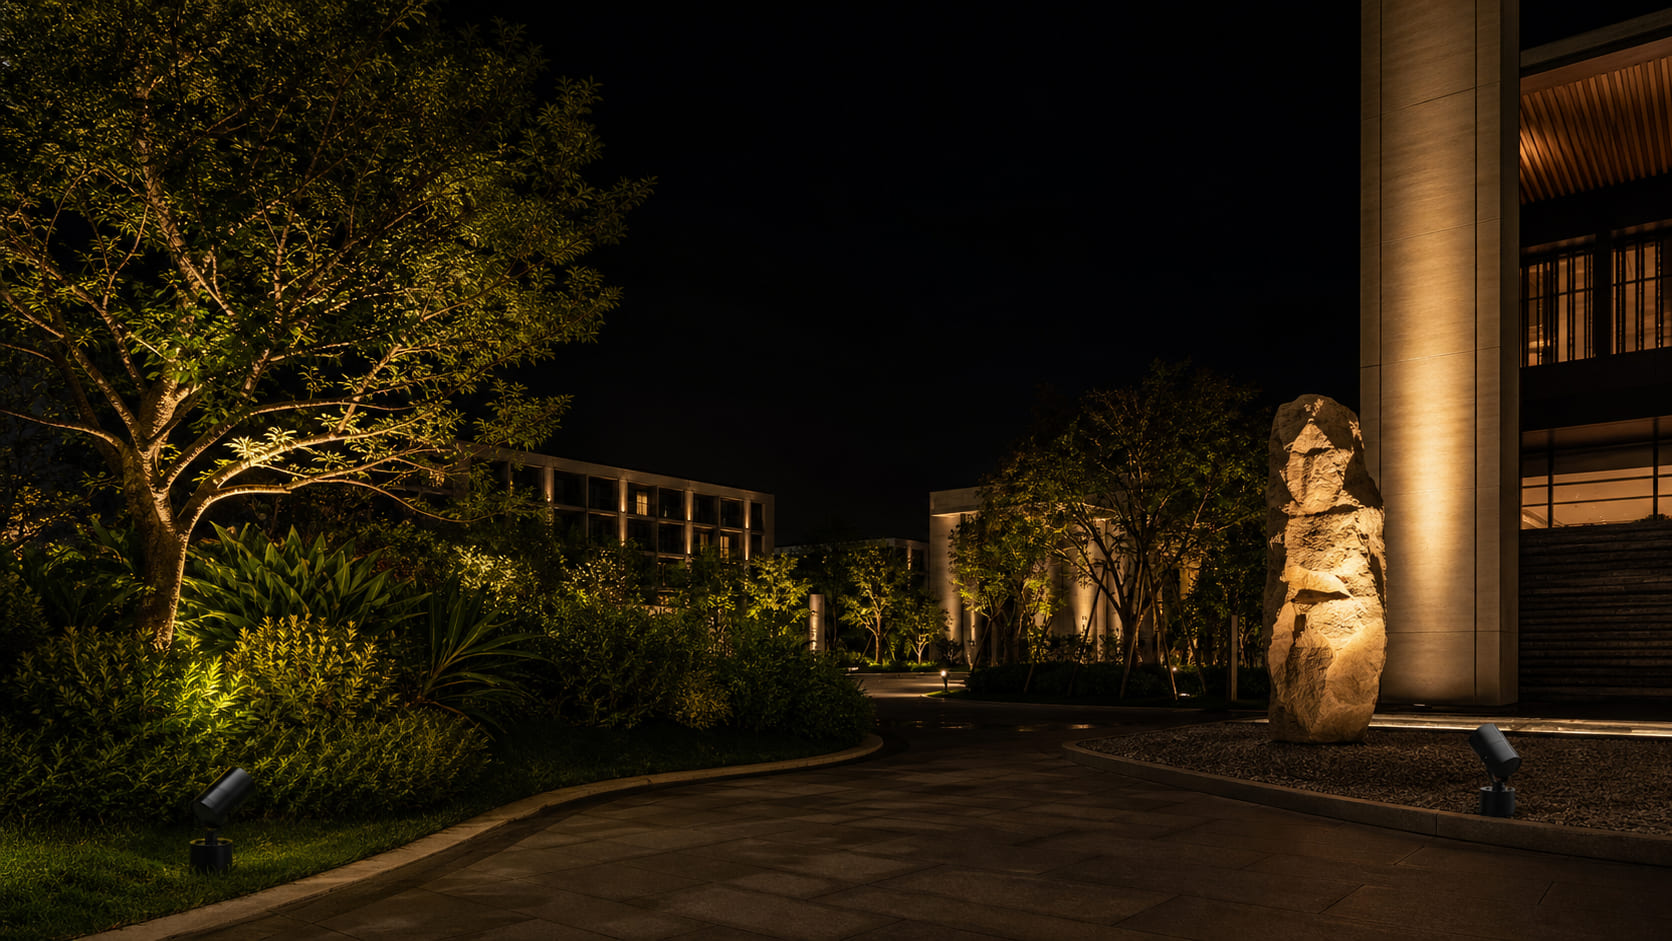
Figure 1. Conceptual project illustration: a softer field on planting and more controlled beams on architectural features. Final results depend on the complete luminaire and installation.
Quick Answer
- Start with a reflector when the target is organic or irregular and a softer outer field helps the light blend into the scene.
- Start with a lens when the target is narrow, spill must be limited or stronger contrast is required.
- Do not approve either option from beam angle alone. Compare the correct IES/LDT file and a sample at the intended distance and aiming angle.
1. Why the Same Wattage Does Not Mean the Same Light
An LED package does not naturally emit a finished spotlight beam. Light leaves the source over a wide range of angles. A secondary optic collects and redirects that output into a distribution suited to a tree, wall, sculpture, sign or planting bed.
In practice, the optic affects more than beam width. It influences:
- center intensity and useful throw distance;
- the transition from the bright center to the outer field;
- spill beyond the target;
- rings, halos and other beam artifacts;
- how bright the aperture appears to a pedestrian;
- how consistently the beam can be reproduced in volume production.
This is why wattage and lumens are not enough for specification. A lower-wattage narrow optic may place more intensity on a distant column than a higher-wattage flood distribution, while the wider luminaire may be more effective on a tree canopy.
2. How a Reflector Shapes Light
A reflector is a shaped reflective surface around the LED. Rays that reach the surface are redirected toward the target. Depending on the LED position and reflector geometry, some rays can leave through the open front without touching the reflector.
That partially controlled component often contributes to a softer field around the main beam. In landscape lighting, this can be useful rather than wasteful. Branches, leaves and rough stone seldom have clean geometric boundaries, so a gradual transition can make the scene feel more natural.
Typical reflector tendencies include:
- a smoother transition between the center and outer field;
- visible peripheral light that can help illuminate broad foliage;
- familiar spot, medium and flood distributions;
- good visual blending on textured or irregular targets;
- possible spill, halo or non-uniformity if the LED position and reflector are not properly matched.
Reflector performance is sensitive to focal position. A change in COB size, LED height, reflector depth or front glass can alter the beam. A catalog beam angle therefore belongs to one tested LED-and-optic configuration, not automatically to every version that uses the same housing.
3. How a TIR Lens Shapes Light
The term “lens” covers several designs. A total internal reflection (TIR) lens is common in compact LED spotlights. It combines refraction through the central portion with internal reflection around the sides to redirect a large share of the LED output.
This can support tighter control outside the intended beam, more defined spot and medium distributions, specialized beam shapes and stronger contrast between the target and its surroundings.
However, a lens is not automatically a clean-beam solution. LED source size, alignment, optical-grade material and surface finish all matter. A poor match can create rings, a hard hot spot, color separation or a weak outer field.
Optics manufacturer LEDiL explains that TIR performance varies with both the LED and the optic size; a lens-family name alone does not guarantee the final beam. This is one reason project samples and configuration-specific photometric files remain necessary. See the LEDiL guide to TIR lenses.
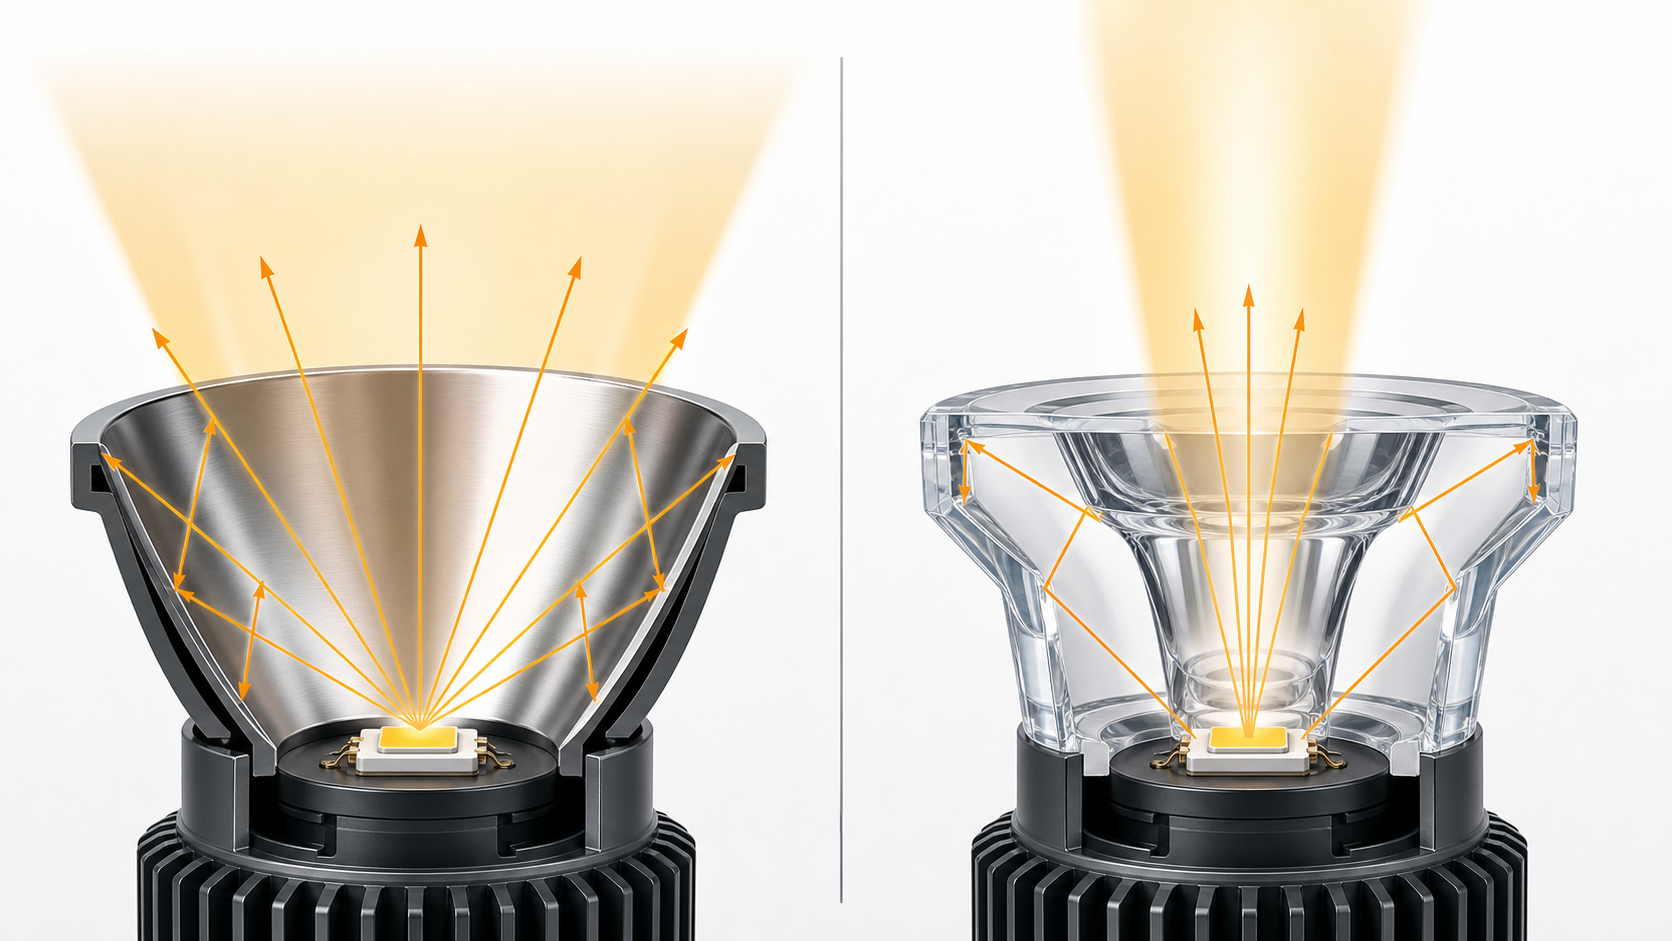
Figure 2. Conceptual optical diagram. Left: rays are redirected by a reflector while some light may leave through the open front. Right: a TIR lens controls light through refraction and internal reflection. This is an explanatory illustration, not a ray-tracing report for a specific Synno model.
4. Beam Angle Is Only Half the Specification
The Illuminating Engineering Society defines beam angle at the directions where luminous intensity falls to 50% of maximum. Field angle uses the 10% points. See the IES definitions of beam angle and field angle.
Two fixtures can therefore both be called 24° spotlights while having different outer fields. One may keep a compact field with limited spill; the other may have a much wider, softer field around the same 24° beam.
For a symmetrical beam aimed perpendicular to a flat target, an early coverage estimate is:
At a 5 m throw distance:
| Nominal beam angle | Approximate diameter at the 50% intensity points |
|---|---|
| 24° | 2.13 m |
| 36° | 3.25 m |
| 60° | 5.77 m |
This calculation does not show center intensity, field angle, edge softness or illuminance on the target. It also assumes a flat surface and perpendicular aim. Trees, sculptures and oblique wall illumination require photometric simulation followed by an on-site check.
When comparing optics, ask for:
- maximum luminous intensity or center beam candlepower;
- beam angle and field angle;
- candela distribution;
- horizontal and vertical data for non-symmetrical beams;
- a configuration-specific IES or LDT file;
- photographs taken at the same distance, exposure and white balance.
5. Reflector vs. Lens: What Changes on the Wall
| Evaluation point | Reflector system | Lens system |
|---|---|---|
| Light control | Redirects rays that reach the reflective surface | Can control a larger share of source output |
| Beam edge | Often softer, depending on geometry | Can be more defined |
| Peripheral light | Often more visible | Can be reduced or deliberately shaped |
| Common visual effect | Blended, natural illumination | Precise, higher-contrast accent lighting |
| Specialized shapes | Commonly round spot-to-flood beams | Round, oval and asymmetric options are possible |
| Optical sensitivity | LED focal position and reflector geometry | LED size, alignment and lens design |
| Possible artifacts | Spill, halo or uneven outer field | Rings, color separation or hot spots |
| Best approval method | Photometric data plus full-scale mock-up | Photometric data plus full-scale mock-up |
These are tendencies, not universal rules. Some modern optics combine reflective and refractive surfaces, and a carefully engineered reflector can outperform a poorly matched lens.
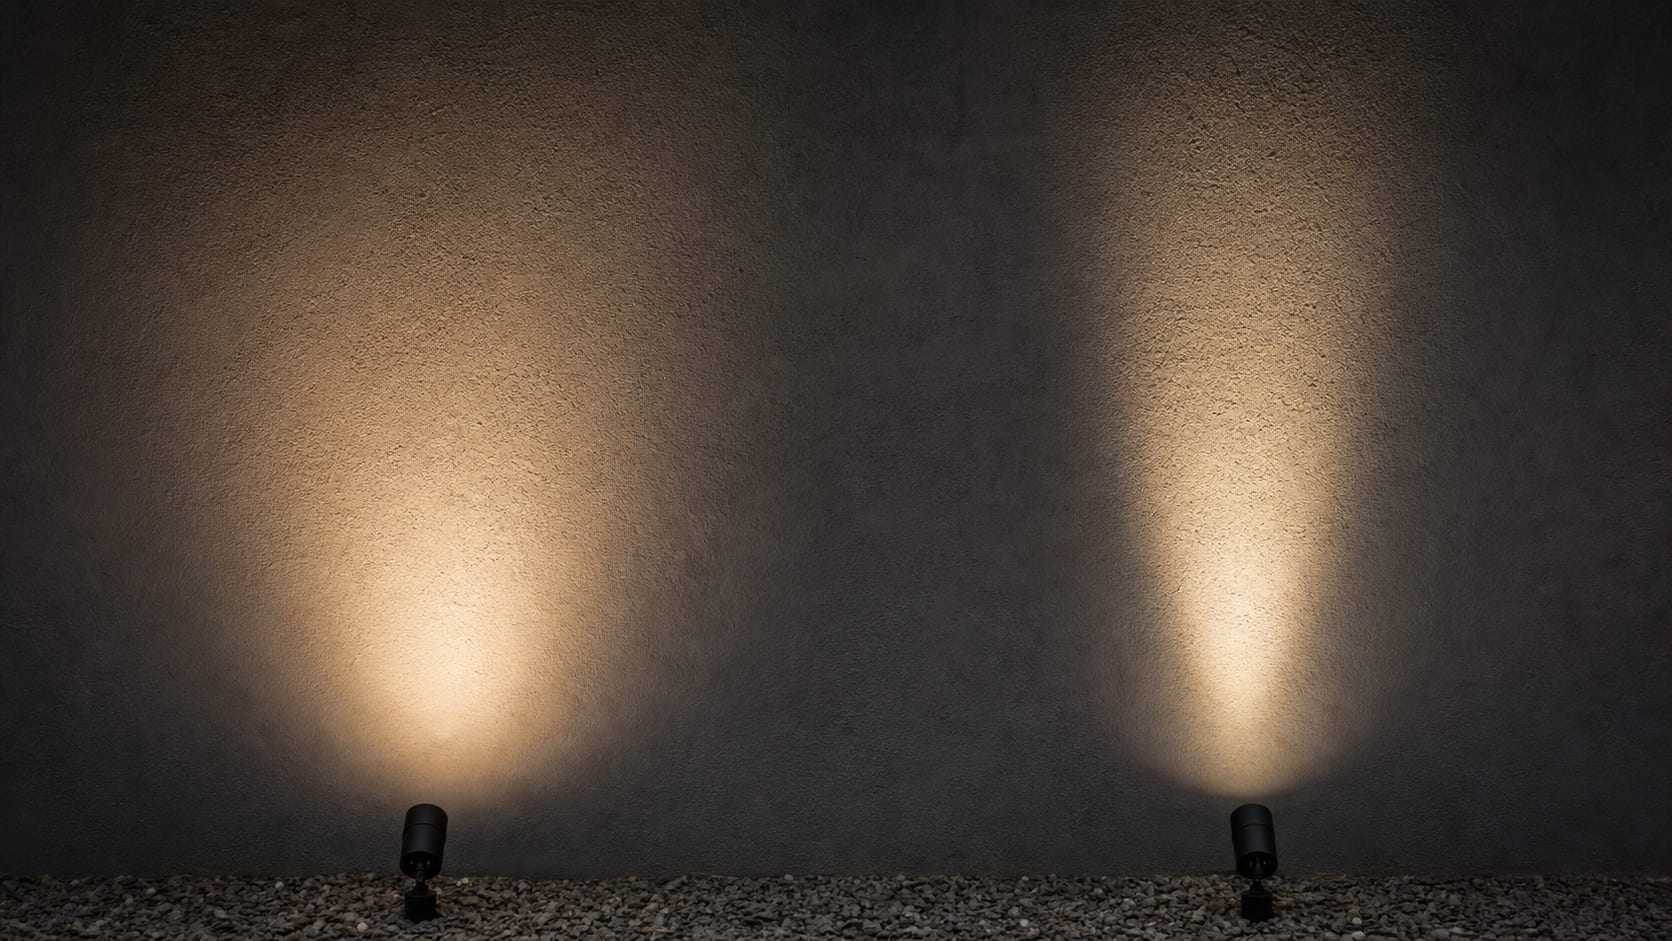
Figure 3. Controlled visual comparison illustrating a softer reflector-type field and a more defined lens-type field. For procurement approval, repeat the test with physical production samples at fixed distance, exposure, CCT and output.
6. Which Optic Produces Less Glare?
Neither optic type guarantees low glare.
Outdoor discomfort commonly occurs when a person can see a high-luminance LED or optical aperture near the normal line of sight. A lens may reduce spill outside the beam but can still look extremely bright when viewed directly. A reflector may create a softer field while an exposed COB still causes severe discomfort.
6.1 Recess the source
Placing the LED and optic deeper in the housing increases shielding. The IES defines a luminaire’s shielding angle by the viewing direction at which the bare source first becomes visible. See the IES shielding-angle definition.
6.2 Use a hood, snoot or anti-glare accessory
A mechanical shield can block high-angle views of the aperture. This is especially valuable beside paths, terraces, hotel entrances and vehicle approaches.
6.3 Aim away from normal sightlines
A tightly controlled optic aimed toward pedestrians will still cause glare. Position the fixture so the brightest part of the beam does not face entrances, seating areas, neighboring windows or common walking directions.
6.4 Match beam width to distance
A very narrow optic at short range may create an unnecessarily bright hot spot. A wider beam, lower output or increased setback can produce a more comfortable result.
Glare must be checked from the viewer’s position, not only from the target. Walk the approach routes and inspect the luminaire from standing, seated and vehicle eye levels.
7. Choose the Optic by Target, Not by Habit
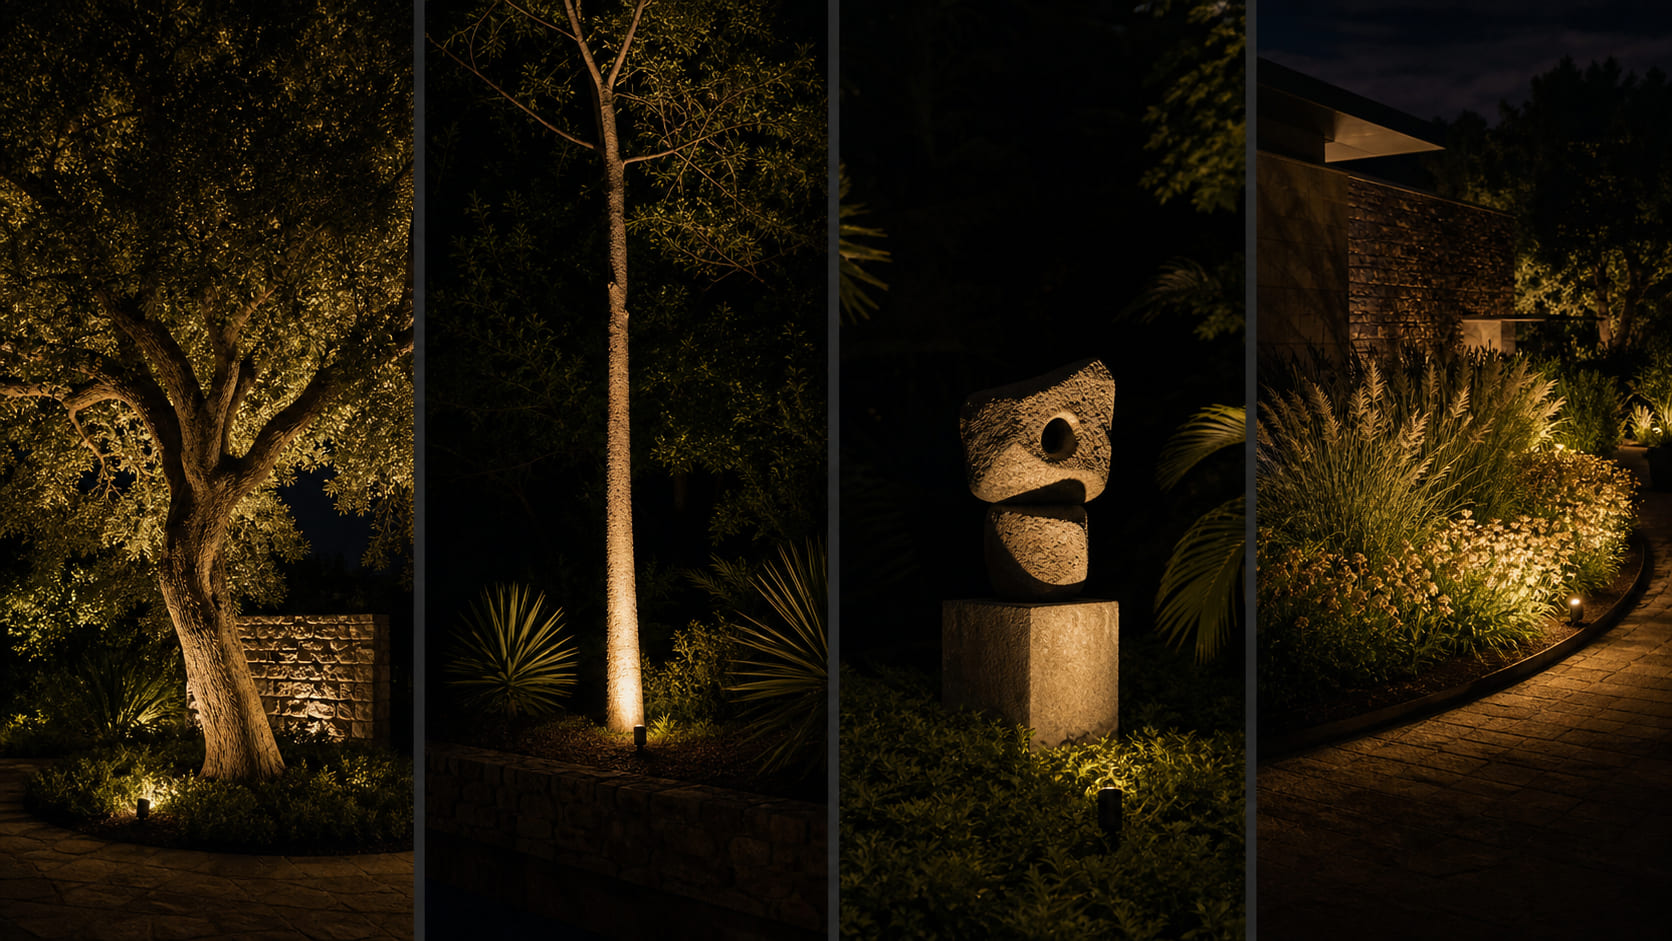
Figure 4. Application concept from left to right: broad canopy, tall trunk, sculpture and low planting. The target dimensions, mounting position and viewing direction should determine the final optic.
7.1 Broad trees and dense foliage
A medium reflector distribution is often a sensible starting point because its peripheral field can spread through irregular branches and leaves. The softer transition helps avoid a flat circular patch.
Use a narrower lens when the fixture must reach a high canopy, pass through a limited opening in the planting or avoid a nearby path or window.
7.2 Tall trunks and narrow columns
A narrow or medium lens can keep more light on the vertical feature and reduce overshoot. Confirm vertical coverage: a beam aimed obliquely becomes elliptical on the surface.
7.3 Sculptures and signs
Defined lens control usually makes it easier to separate a target from a darker background. A reflector can still be appropriate when the design calls for a gentler transition to the surroundings.
7.4 Facades and textured walls
For close-offset grazing, beam uniformity, aiming and fixture spacing matter more than the optic label. A reflector may reveal texture through a softer field, while a suitable lens can control light beyond a facade edge.
7.5 Flowerbeds and low planting
A wide or oval lens can distribute light along a border with less output behind the fixture. A soft reflector beam also works when natural blending is the priority. In either case, keep the bright aperture out of view from the adjacent path.
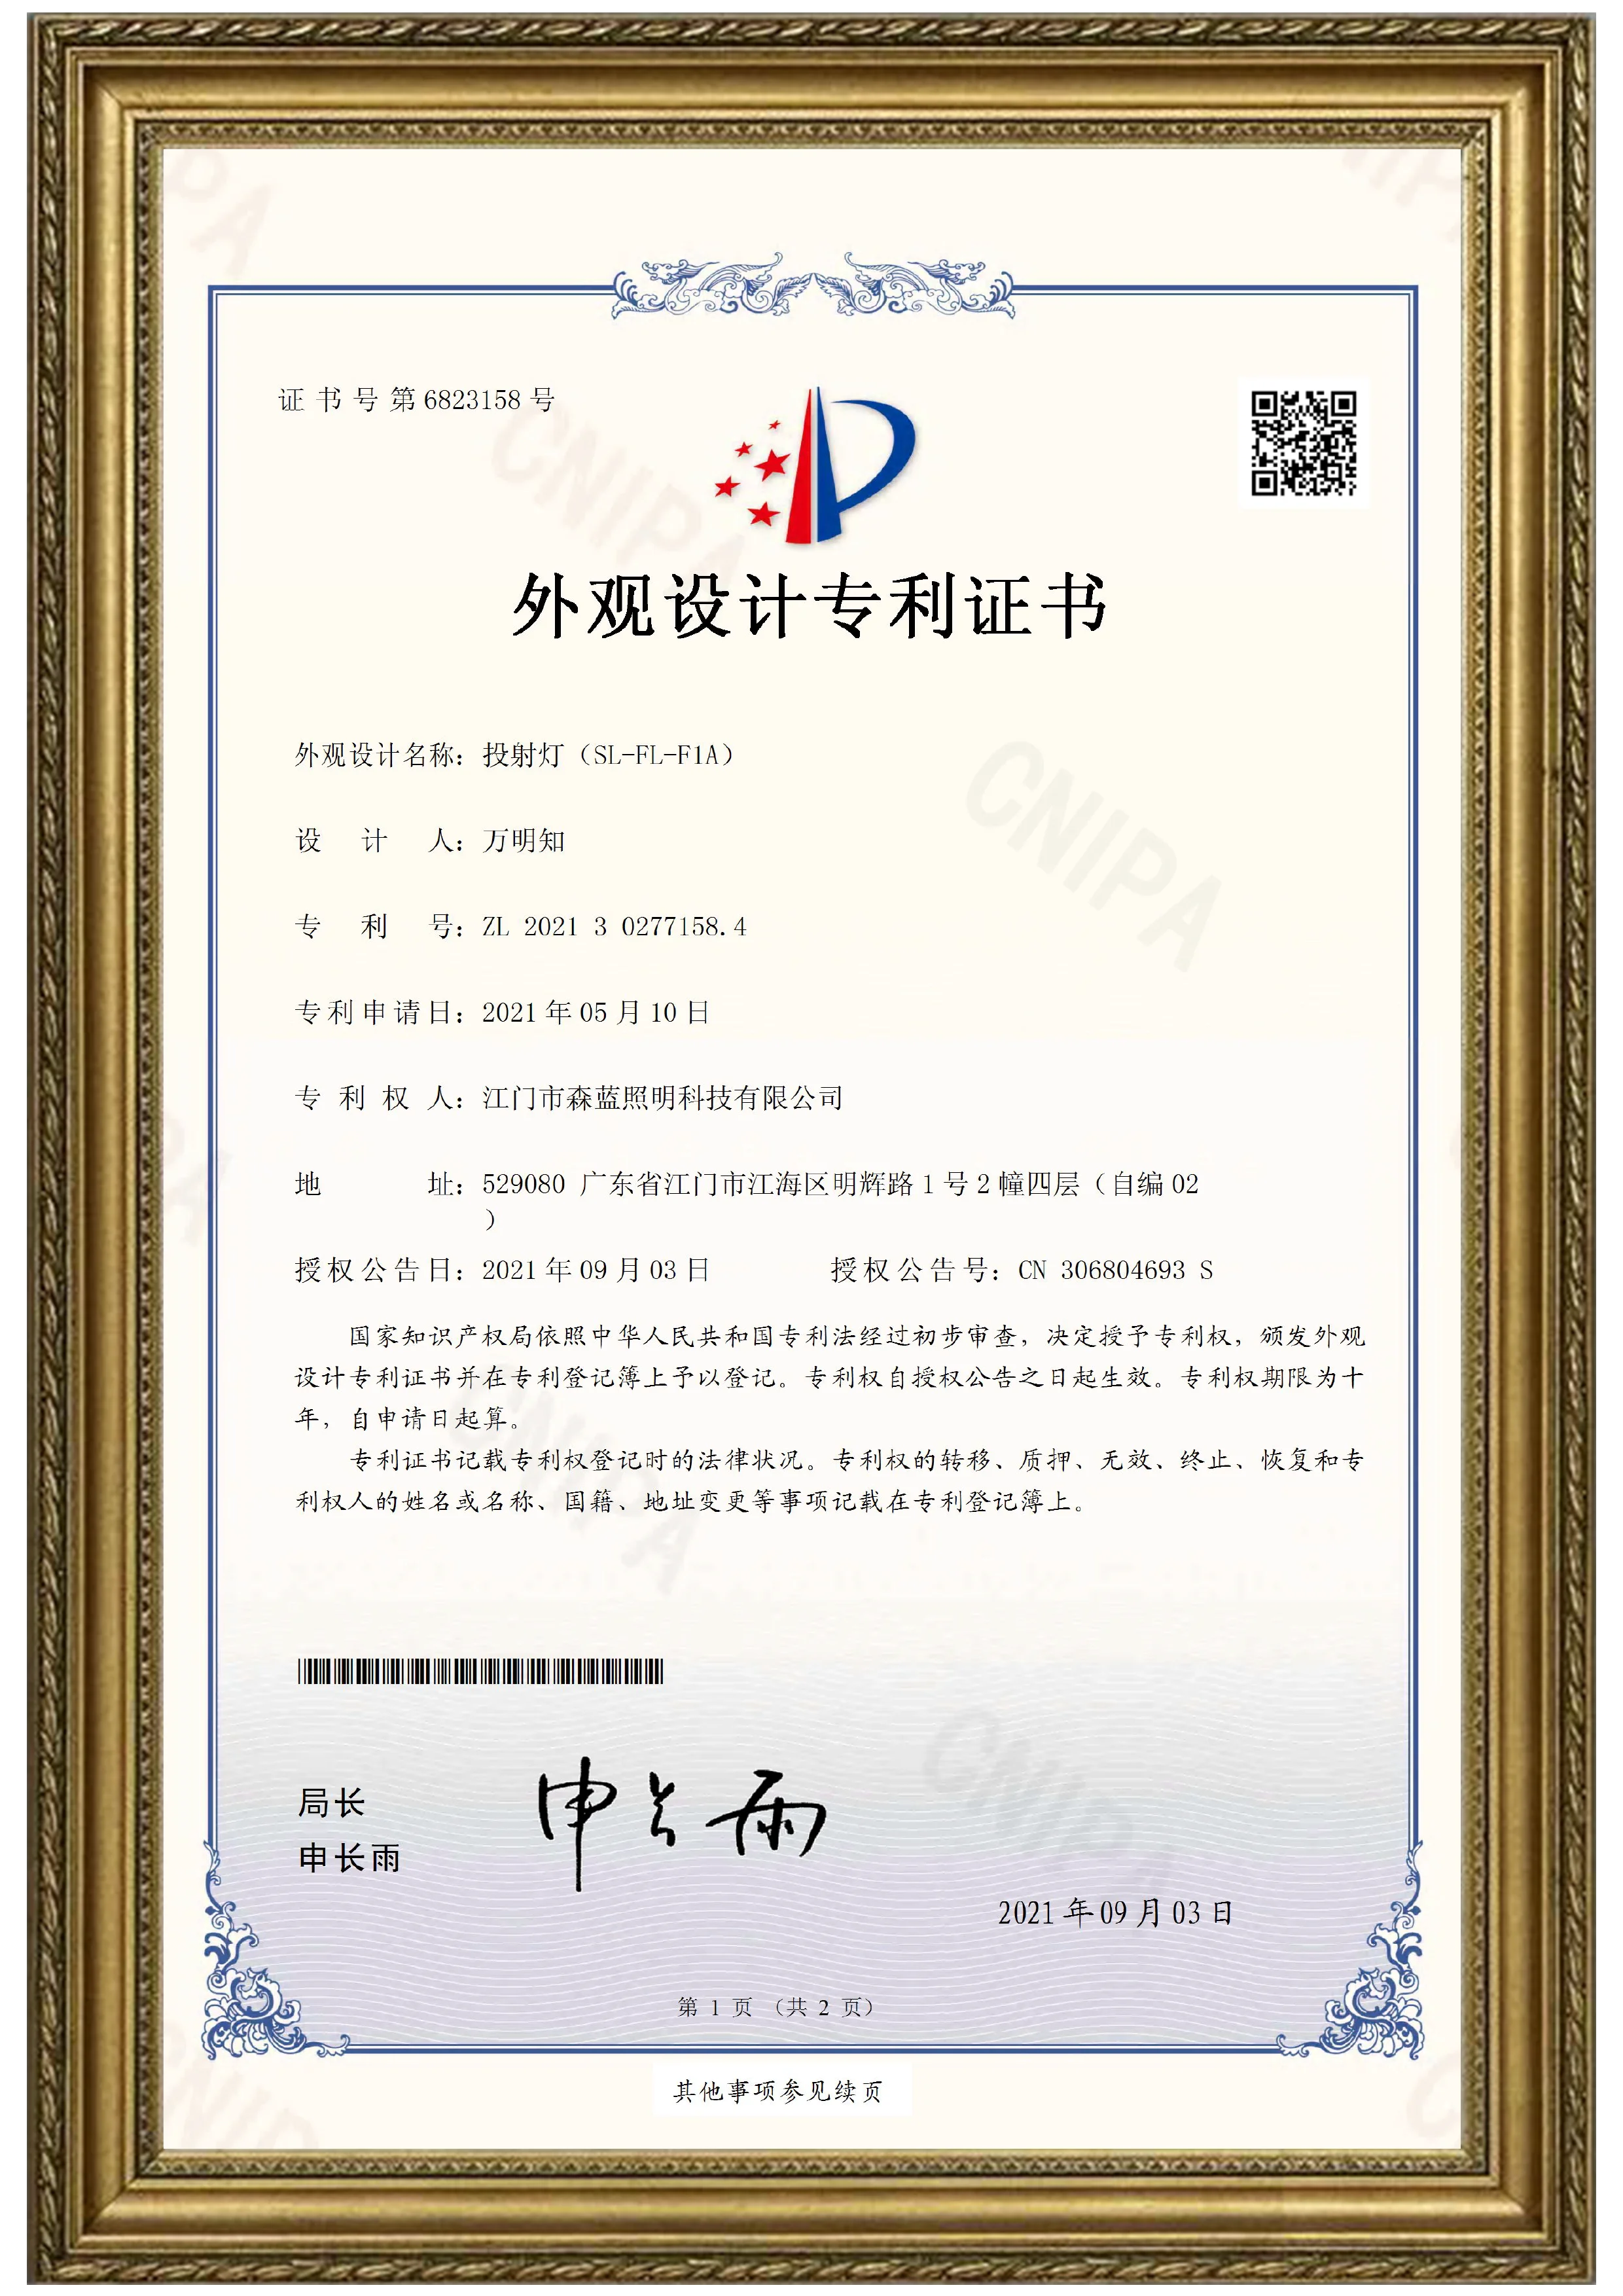
8. SL-FL-F1A: One Private-Mold Family, Two Optical Routes
Synno’s SL-FL-F1A private-mold LED landscape spotlight is in active production with both reflector and lens configurations. This gives project buyers more than one optical route while maintaining a coordinated product appearance.
The 2026 Synno Private Product Catalog lists:
| SL-FL-F1A configuration | Published power options | Published beam options |
|---|---|---|
| Reflector, compact | 5–7W | 18° / 25° / 35° |
| Reflector, medium | 7–12W | 15° / 24° / 36° |
| Reflector, larger | 15–20W | 15° / 24° / 38° / 60° |
| Lens, medium | 12W | 15° / 24° / 36° / 50° |
| Lens, larger | 18W | 15° / 24° / 38° / 50° |
The standard outdoor ingress-protection rating is IP66. The family uses an aluminum housing and supports CCT choices from 2700K to 6000K, CRI 80 or CRI 90 project options, and mains-voltage or 24V DC low-voltage configurations. CRI 95 is mainly used for selected premium indoor products and is not presented as a standard specification for this outdoor family.
Final availability must be confirmed against the chosen size, wattage, LED, optic, driver and destination-market certification.
For contractors, distributors and importers, a coordinated platform can:
- combine reflector and lens versions in one project without mixing unrelated housing designs;
- cover trees, walls, signs and sculptures through different beam options;
- simplify sample approval, spare planning and future replacement;
- offer clearer OEM/ODM differentiation than a generic open-market housing.
Configuration-specific approval: An IES file for a 12W lens version must not be used to represent a 12W reflector version simply because the housing looks similar.
Learn more about the SL-FL-F1A LED landscape spotlight and Synno’s range of LED spike lights and garden spotlights.
9. How to Run a Fair Sample Comparison
A useful sample test controls the variables that are not being evaluated.
9.1 Keep the LED and electrical conditions consistent
Compare the same CCT, CRI, drive current and approximate lumen output. Do not judge a 3000K CRI 90 sample against a 4000K CRI 80 sample as if the optic were the only difference.
9.2 Fix the distance, aiming point and camera settings
Mark the fixture location and target point. Use fixed exposure and white balance for both photographs. Automatic phone exposure can make a weaker beam appear as bright as a stronger one.
9.3 Inspect the full field
Do not look only at the center. Check for hot spots, rings, color variation, edge smoothness, unwanted spill, aperture brightness at pedestrian eye level and consistency across multiple samples.
9.4 Test the final accessories
Front glass, honeycomb louvers, snoots and anti-glare covers can change output and distribution. The approved sample should match the intended bill of materials.
9.5 Make the approval traceable
Record the model, LED, optic code, wattage, CCT, driver, front cover and accessories. For a large order, attach these details and the approved photometric file to the purchase specification.
10. Procurement Checklist for Contractors and Importers
Before approving a reflector or lens version, request:
- the exact datasheet for the proposed configuration;
- the matching IES or LDT photometric file;
- LED brand, CCT, CRI and drive-current information;
- optic type, optic code and beam-angle tolerance;
- photographs or samples tested under controlled conditions;
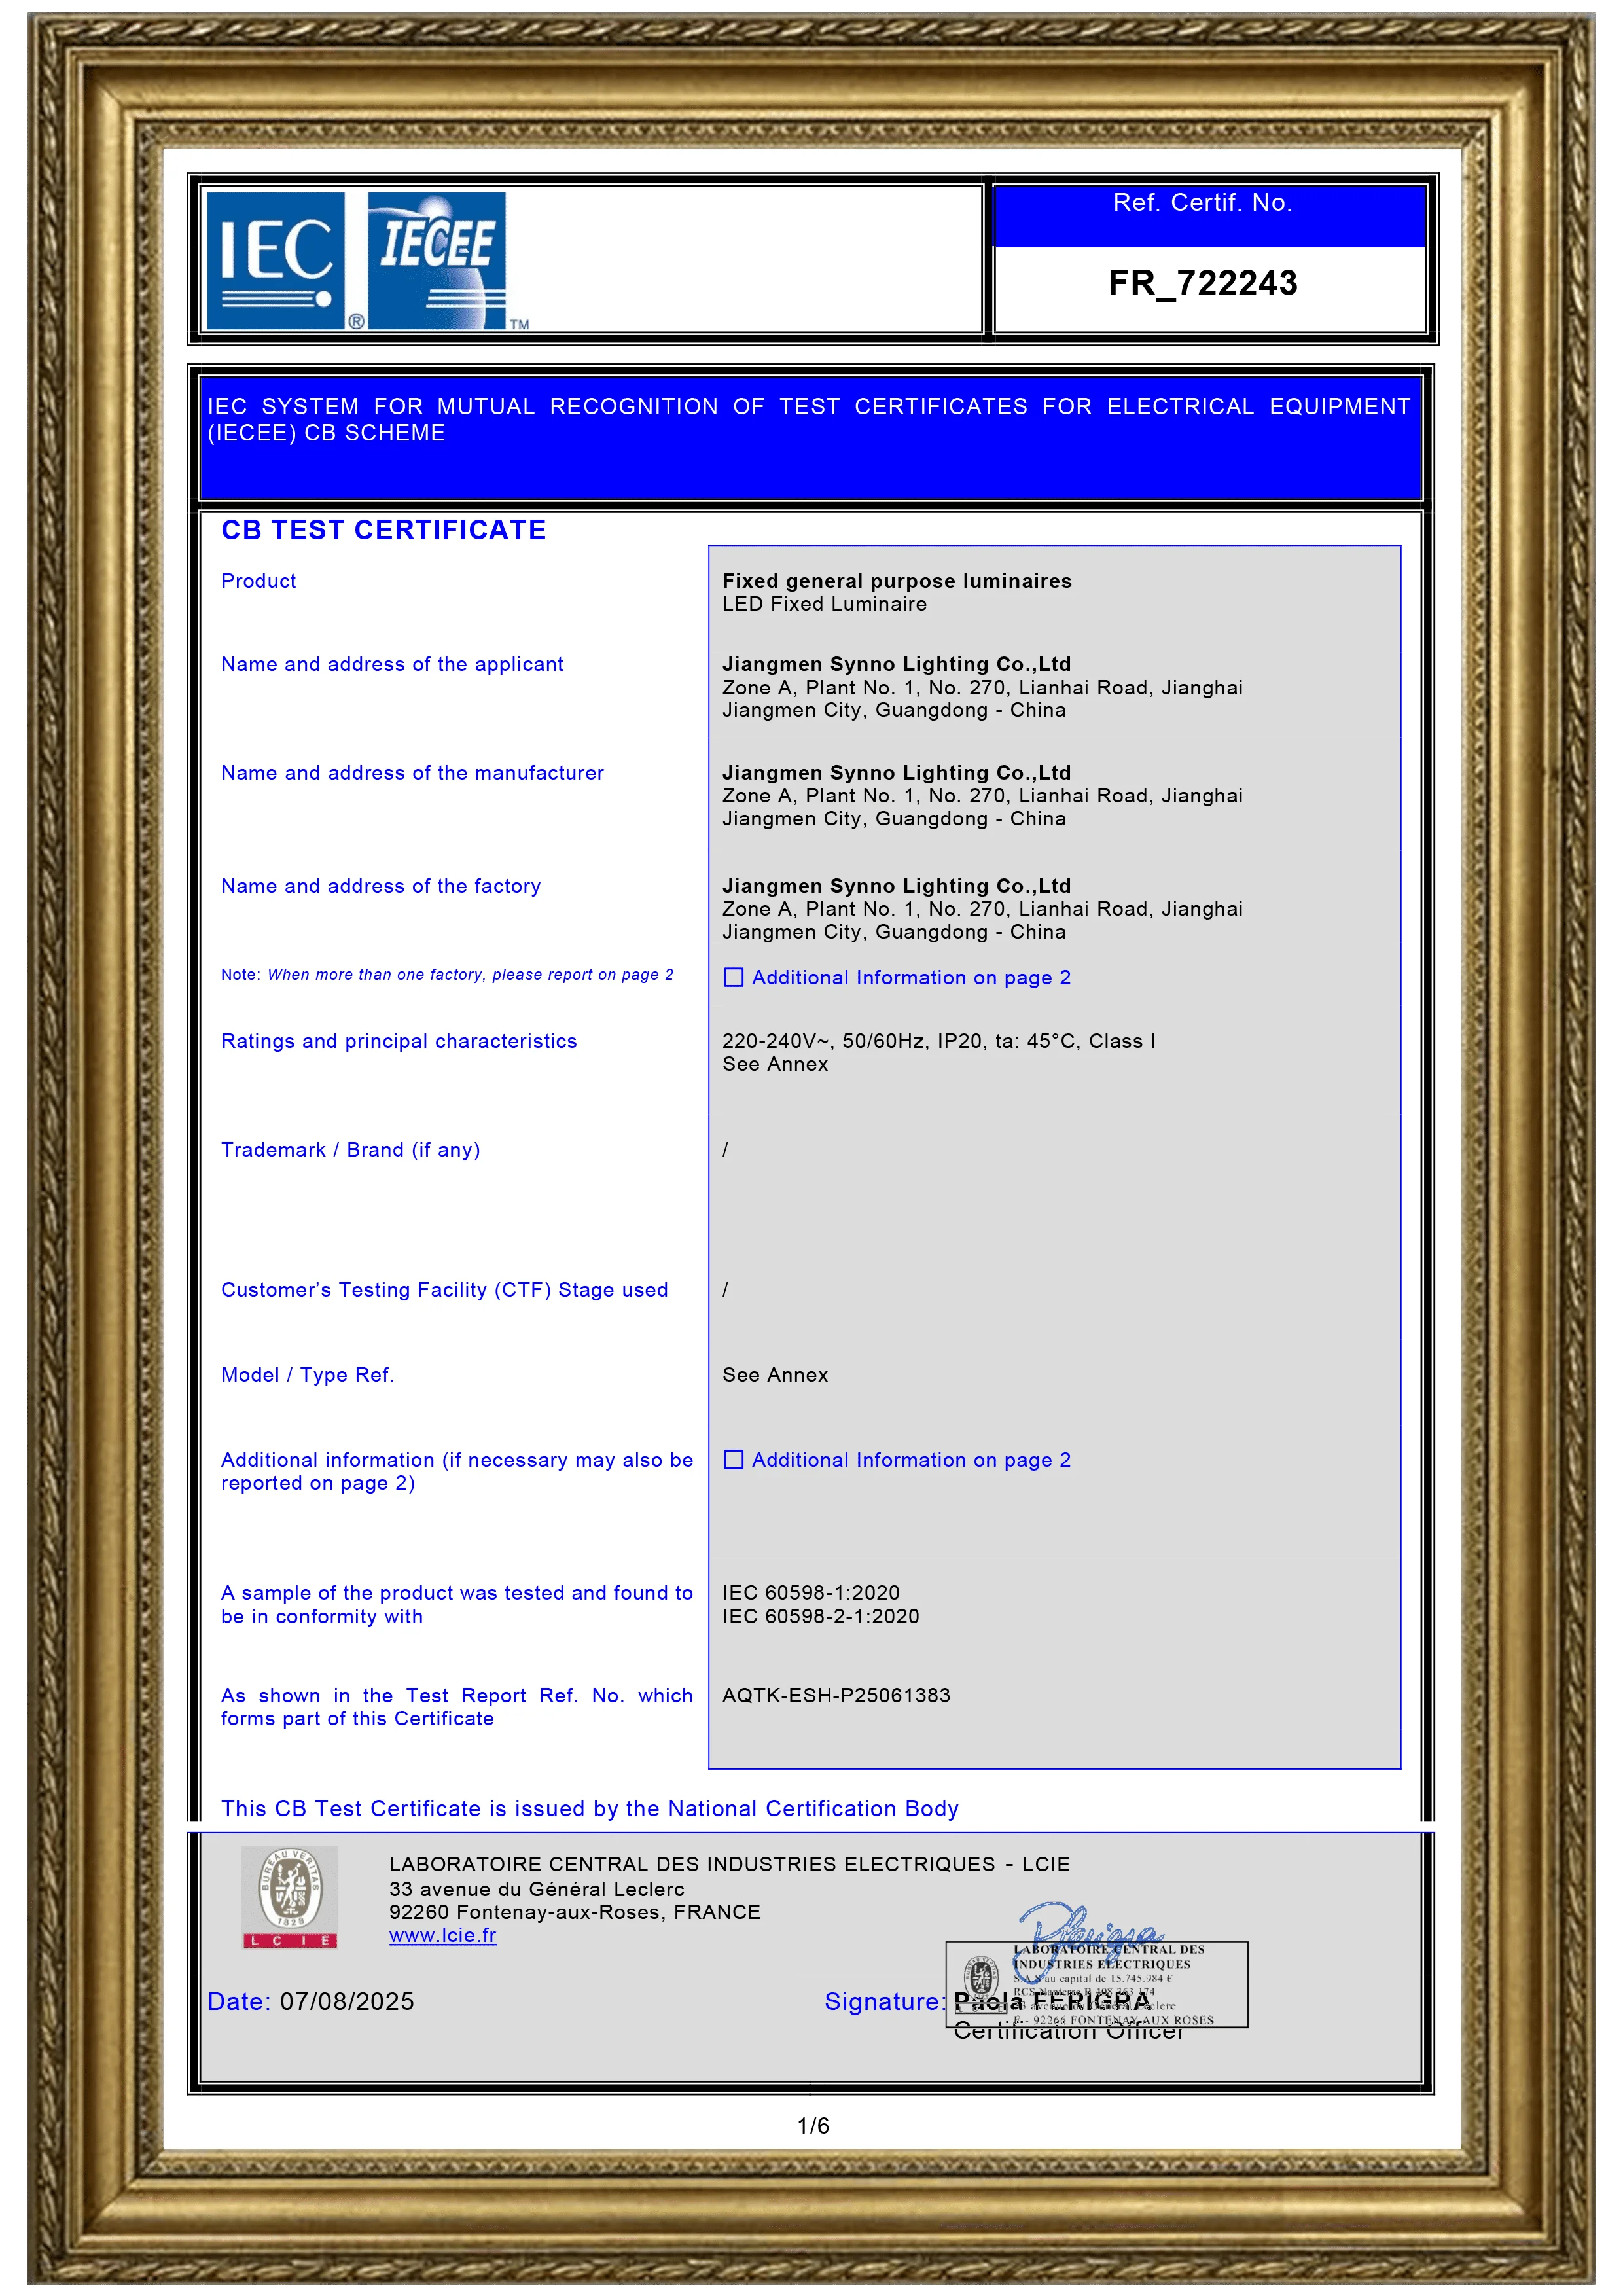
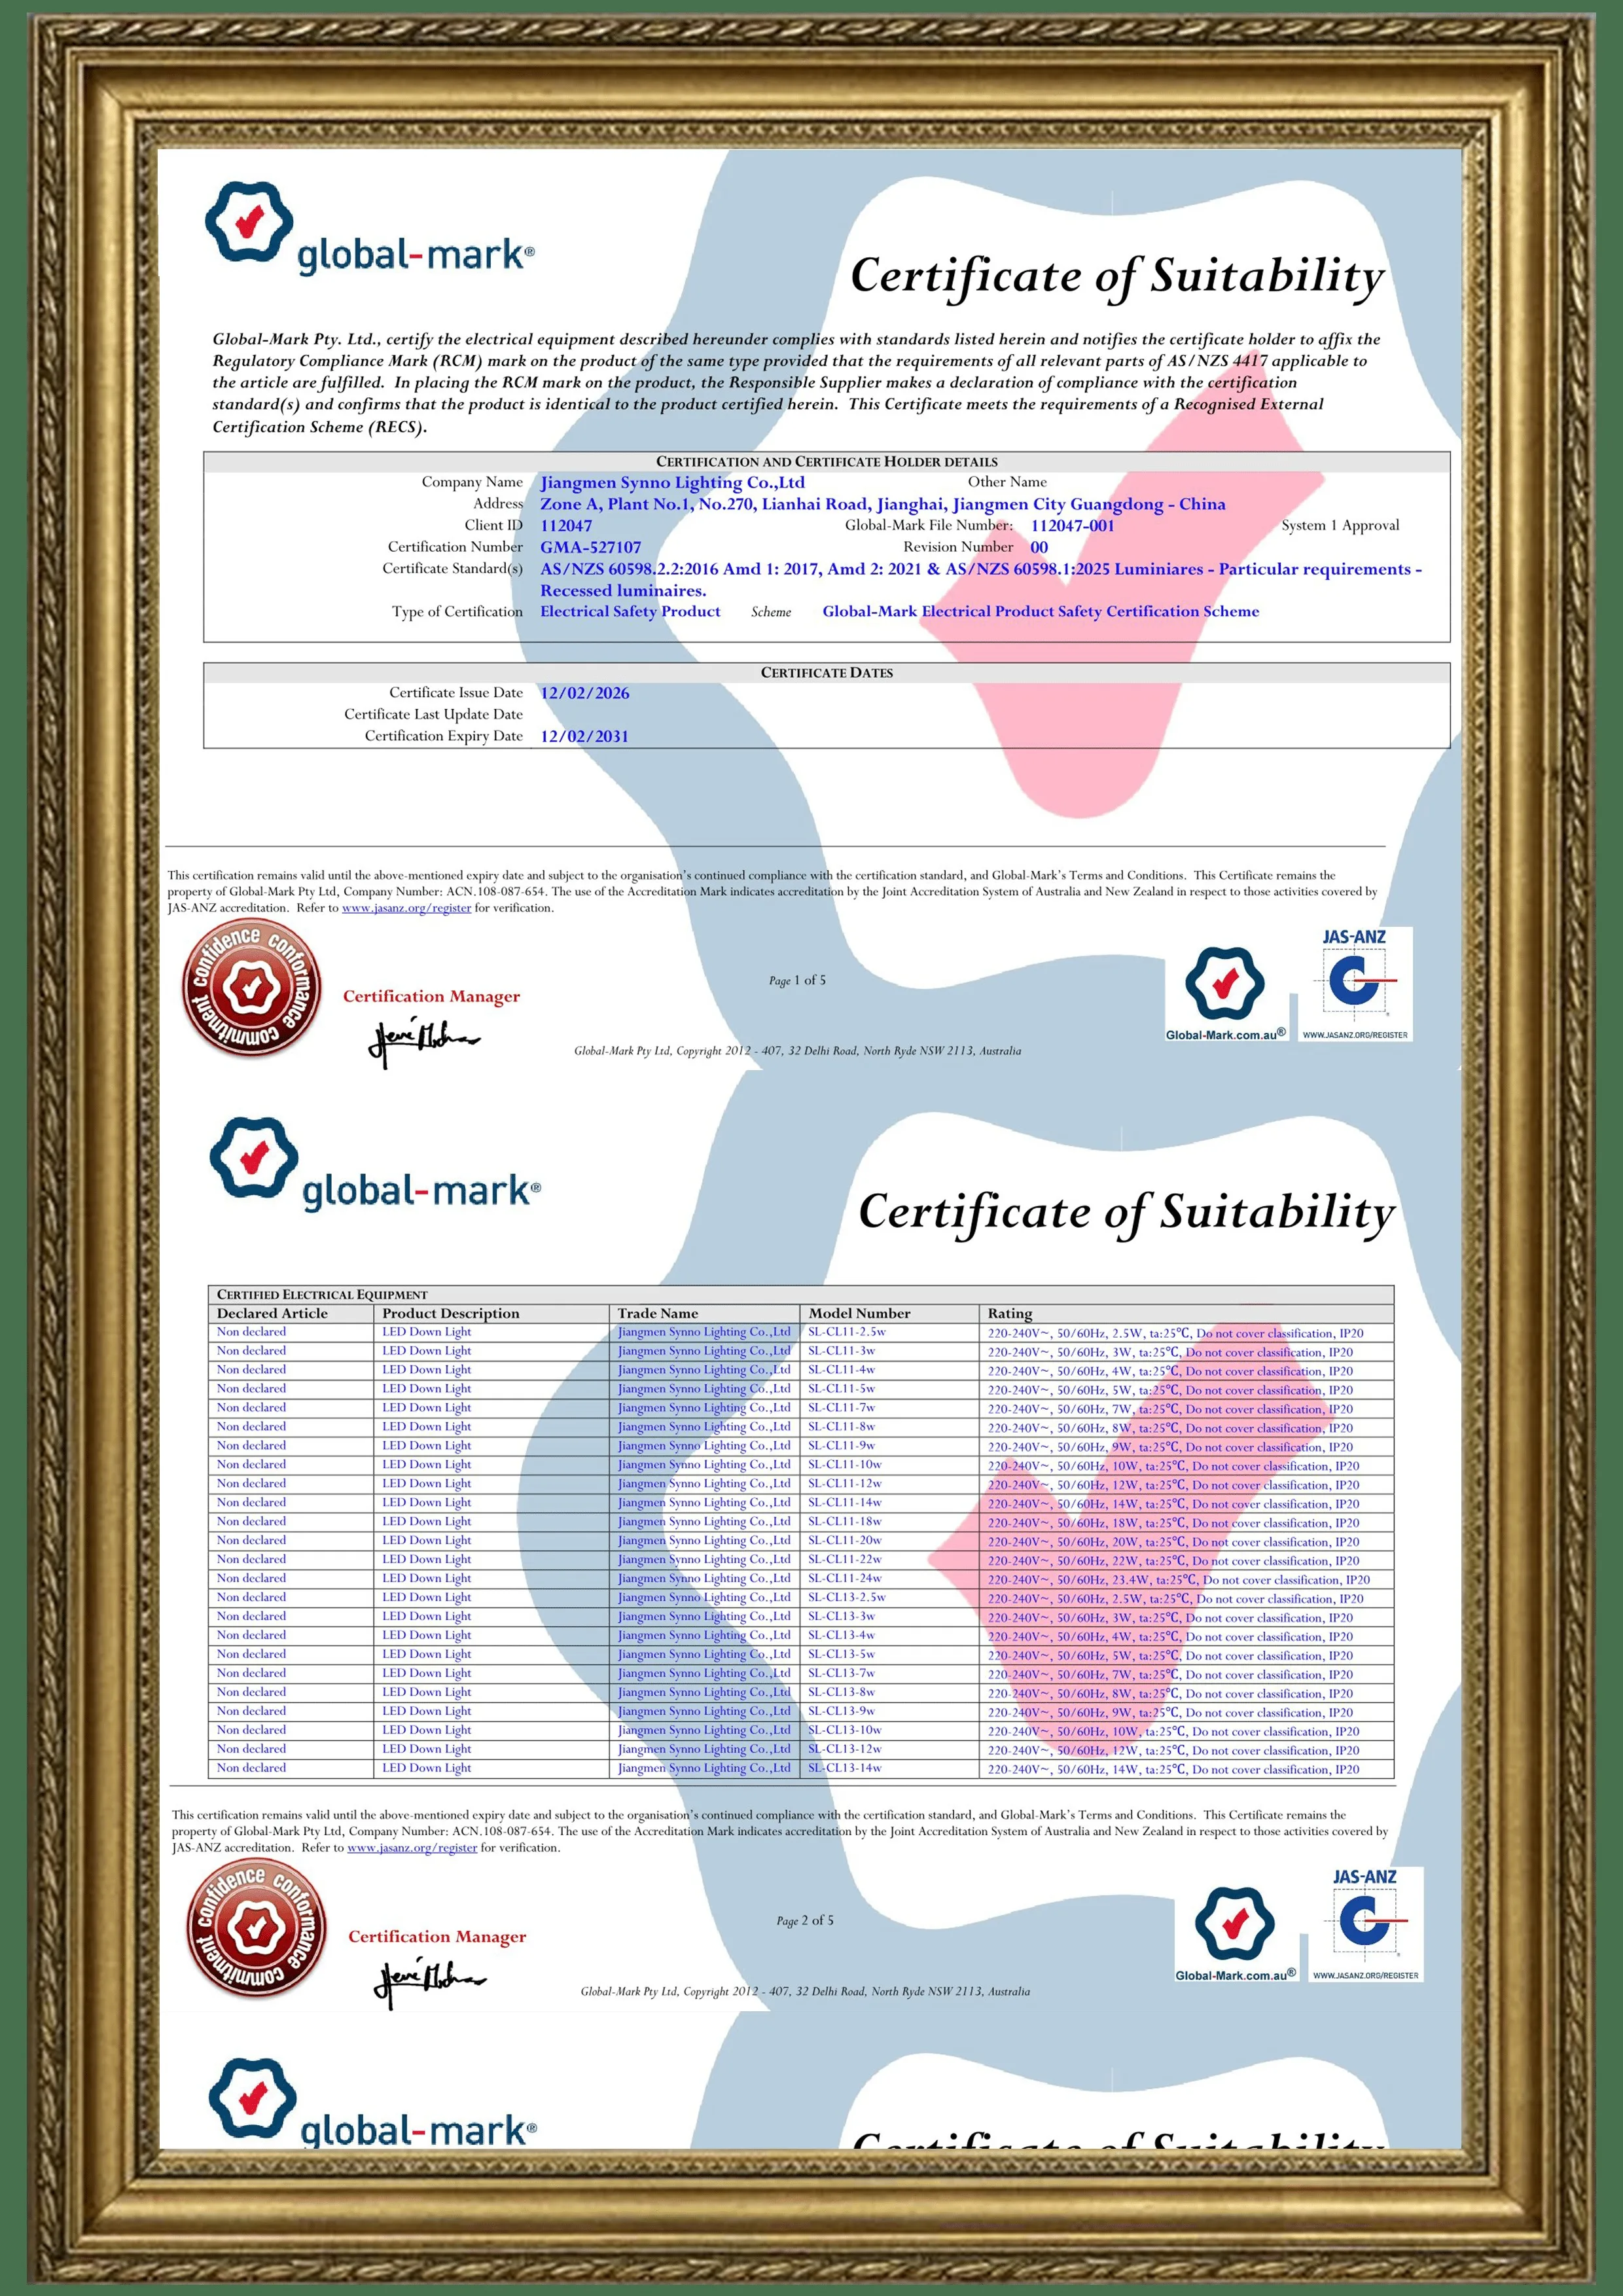
- confirmation of IP rating and the applicable test documentation;
- driver input, dimming and low-voltage options where required;
- destination-market certification for the ordered configuration;
- the final accessory list, including hood, snoot, honeycomb or front glass;
- a production-control method that keeps the LED and optic alignment consistent.
For early beam planning, also read Synno’s guide on how to choose a landscape lighting beam angle and its practical discussion of choosing a spotlight for tree lighting.
Frequently Asked Questions
Is a TIR lens always more efficient than a reflector?
No. A TIR lens can control a large portion of the source output, but total optical efficiency depends on material, geometry, LED matching, front glass and other losses. A well-designed reflector can be highly efficient, while a mismatched lens can waste light.
Which optic is better for tree uplighting?
A reflector is often useful for a broad canopy because of its softer field. A narrow or medium lens may be better for a trunk, tall feature or location with strict spill limits. Tree size, leaf density, fixture distance and nearby sightlines should decide the final choice.
Does a narrow beam always reach farther?
A narrow beam normally concentrates intensity into a smaller area, which can support a longer throw. Actual reach still depends on luminaire output, center intensity, atmospheric conditions and target reflectance.
Can reflector and lens spotlights be used in the same project?
Yes. Mixed optics are often the stronger design solution: lenses for columns and signs, reflectors for broad planting, and shielded wider distributions near paths.
How should glare be compared?
Install both samples at the intended height and aiming angle. View them from entrances, paths, seating positions, windows and vehicle approaches. Check whether the bright aperture is visible, not only whether light reaches the target.
What should a buyer request before a bulk order?
Request the exact datasheet, configuration-specific IES/LDT file, optic code, LED and driver details, IP documentation, sample approval record and written confirmation that production will use the approved optical configuration.
Conclusion: Select the Result, Not the Optic Label
Reflector versus lens is not a contest with one universal winner. It is a choice between different ways of shaping light.
A reflector can create a softer field that integrates naturally with foliage and textured surfaces. A lens can provide tighter control when spill, contrast or target boundaries matter. In both cases, the installed result depends on the complete luminaire: LED, optic, housing, shielding, glass, driver, aiming and mounting position.
For a reliable specification, define the target, shortlist a beam, review the correct photometric data and approve the result through a full-scale mock-up.
Need the Right SL-FL-F1A Optical Configuration?
Synno provides reflector and lens configurations within the SL-FL-F1A IP66 private-mold landscape spotlight family, with project-specific beam, wattage, CCT, CRI and voltage options. Contact our technical team for configuration-specific datasheets, photometric files or samples.
Request Project Support View SL-FL-F1A