How to Replace Traditional Lights with LED Downlights
Switching from traditional lighting to LED downlights is one of the most impactful upgrades for any home, office, or commercial space. Whether you’re renovating a house, retrofitting a retail store, or designing a new layout for a hotel or office, LED downlights offer unmatched energy savings, longer lifespan, and superior light quality.
In this complete guide, we’ll walk you through everything you need to know to replace traditional light fixtures (like incandescent bulbs, CFLs, or halogen fittings) with modern LED downlights—including product selection, installation tips, and safety best practices.
Why Replace Traditional Lights with LED Downlights?
Before diving into the process, let’s understand why this upgrade is worthwhile:
✅ 1. Energy Efficiency
LEDs use up to 80% less energy than incandescent bulbs, helping reduce electricity bills and carbon emissions.
✅ 2. Longer Lifespan
While a halogen may last around 2,000 hours, LED downlights often exceed 30,000–50,000 hours, meaning fewer replacements.
✅ 3. Better Light Quality
LEDs offer improved color temperature control, higher CRI (Color Rendering Index), and directional lighting without the need for reflectors.
✅ 4. Lower Heat Emission
Traditional lights convert energy into heat, but LEDs remain cool to the touch, making them safer and more efficient.
✅ 5. Compact Design
LED downlights fit flush into ceilings, offering a sleek, modern look—ideal for kitchens, bathrooms, hallways, and living areas.
What You’ll Need to Get Started
Before replacing any lights, gather the following:
-
Compatible LED downlight kits
-
A voltage tester
-
A ladder
-
A drill and hole saw (for new cutouts)
-
Wire connectors and basic hand tools
-
Electrical junction boxes (if needed)
-
Safety gear (gloves, goggles)
Warning: If you’re unsure or not confident with electrical work, consult or hire a licensed electrician.
Step-by-Step: Replacing Traditional Lights with LED Downlights
Step 1: Turn Off the Power
Always begin by switching off the lighting circuit at the main breaker panel. Use a voltage tester to ensure there is no electricity running through the wires before proceeding.
Step 2: Remove the Existing Fixture
Carefully remove the old fixture, whether it’s a pendant, ceiling-mounted light, or recessed fitting.
-
Unscrew and disconnect wiring from the electrical box
-
Safely cap and isolate wires temporarily
-
Remove mounting brackets or screws
Step 3: Check the Existing Cutout
Measure the diameter of the existing hole to determine whether your new LED downlight will fit.
-
Standard sizes: 2-inch, 3-inch, 4-inch, 6-inch, and 8-inch
-
If the hole is too small, you may need a hole saw to expand it
-
If it’s too large, use a trim kit to adapt
Pro Tip: When installing in bathrooms or kitchens, choose IP44 or higher-rated LED downlights for water resistance.
Step 4: Install the LED Driver (if separate)
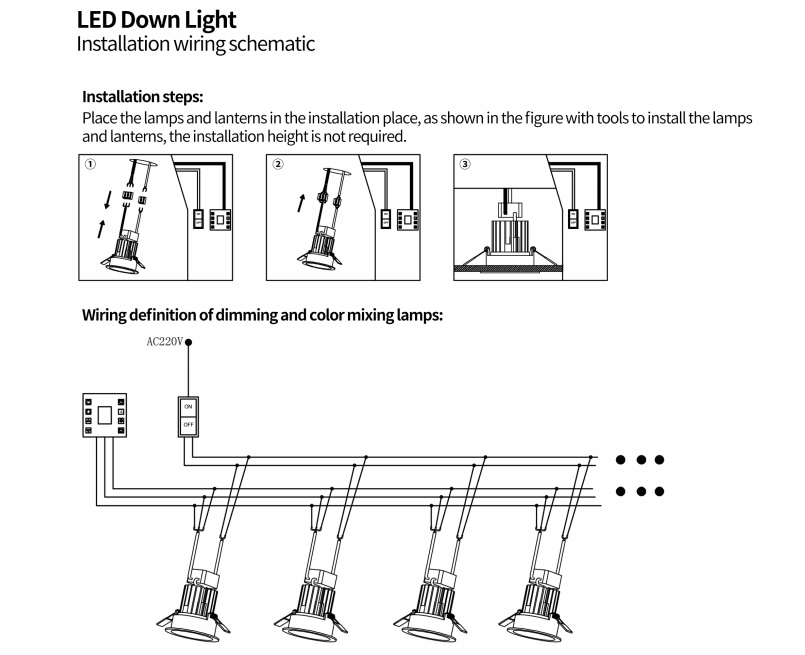
Many LED downlights come with an external LED driver (especially COB models). Connect the driver to the power supply using wire connectors.
-
Match color-coded wires: Live (brown/black), Neutral (blue/white), Earth (green/yellow)
-
Secure the driver in the ceiling cavity
Some integrated models combine the driver into the downlight housing, making installation easier.
Step 5: Connect the LED Downlight
Once wired, plug or connect the LED downlight to the driver (or direct to mains if integrated). Use push-fit connectors or quick connectors for faster, safer setup.
Secure the downlight into the ceiling using the spring clips built into most LED housings.
Always ensure proper insulation clearance to avoid overheating—especially in older ceilings.
Step 6: Test the Light
After connecting everything, switch the circuit breaker back on and test the downlight.
-
Check for flickering or delayed startup
-
If dimmable, test the dimming function with compatible switches
If everything works, secure the downlight and proceed with additional units if needed.
Special Considerations When Replacing Traditional Lights
1. Wattage Comparison
Don’t just look at watts—compare lumen output.
| Traditional Bulb | Equivalent LED Downlight | Lumen Output |
|---|---|---|
| 60W Incandescent | 8–10W LED Downlight | 800–900 lm |
| 100W Incandescent | 15–18W LED Downlight | 1600–1800 lm |
2. Beam Angle Selection
Choose the right beam angle based on room size and ceiling height:
-
Narrow beam (15°–30°): Accent lighting or high ceilings
-
Medium beam (38°–60°): General lighting
-
Wide beam (90°+): Soft, even light for low ceilings
3. Color Temperature
Match the light color to the room’s function:
| Area | Recommended Color Temperature |
|---|---|
| Living Room | 2700K–3000K (Warm White) |
| Kitchen | 4000K (Neutral White) |
| Bathroom | 4000K–5000K (Cool White) |
| Office Space | 5000K (Daylight) |
4. CRI (Color Rendering Index)
For accurate color representation, choose CRI > 80. For retail or display applications, go for CRI 90+.
Choosing the Right LED Downlight
We offer a full range of high-quality LED downlights tailored for both residential and commercial use. Here’s what sets our products apart:
✅ Product Features:
-
COB and SMD options for targeted or wide-angle lighting
-
Dimmable models with TRIAC or 0–10V compatibility
-
Slim and deep recessed styles for aesthetic variety
-
Fire-rated and IP-rated models for maximum safety
-
Magnetic trim variants for luxury interior designs
-
Quick-connect terminals for easy installation
Whether you’re outfitting kitchens, bathrooms, living rooms, or retail stores, we have options designed for every project.
Advantages of Retrofitting with LED Downlights
Here’s why more contractors and homeowners are replacing old lights with LED downlights:
-
✔️ Instant upgrade in style and function
-
✔️ Reduced long-term energy costs
-
✔️ Maintenance-free performance
-
✔️ Environmentally friendly
-
✔️ Compatible with smart lighting systems
Common Mistakes to Avoid
❌ Using incompatible dimmers (causes flickering or buzzing)
❌ Choosing the wrong color temperature
❌ Failing to ensure insulation clearance
❌ Installing non-IP rated lights in wet areas
❌ Overlooking beam angle or lumen needs
Final Thoughts
Replacing traditional lights with LED downlights is a smart move that delivers immediate and long-term benefits. Whether you're modernizing a home, upgrading a commercial space, or building from scratch, LED downlights offer a perfect balance of performance, energy efficiency, and design flexibility.
If you’re a lighting designer, contractor, or property manager seeking high-quality LED lighting for your next project, we invite you to explore our full line of:
-
LED Downlights (SMD, COB, Deep Reflector, Adjustable)
-
Smart Downlights
-
Magnetic Track Lighting Systems
-
LED Wall Washers and Spotlights
-
Motion-Sensor Ceiling Fixtures
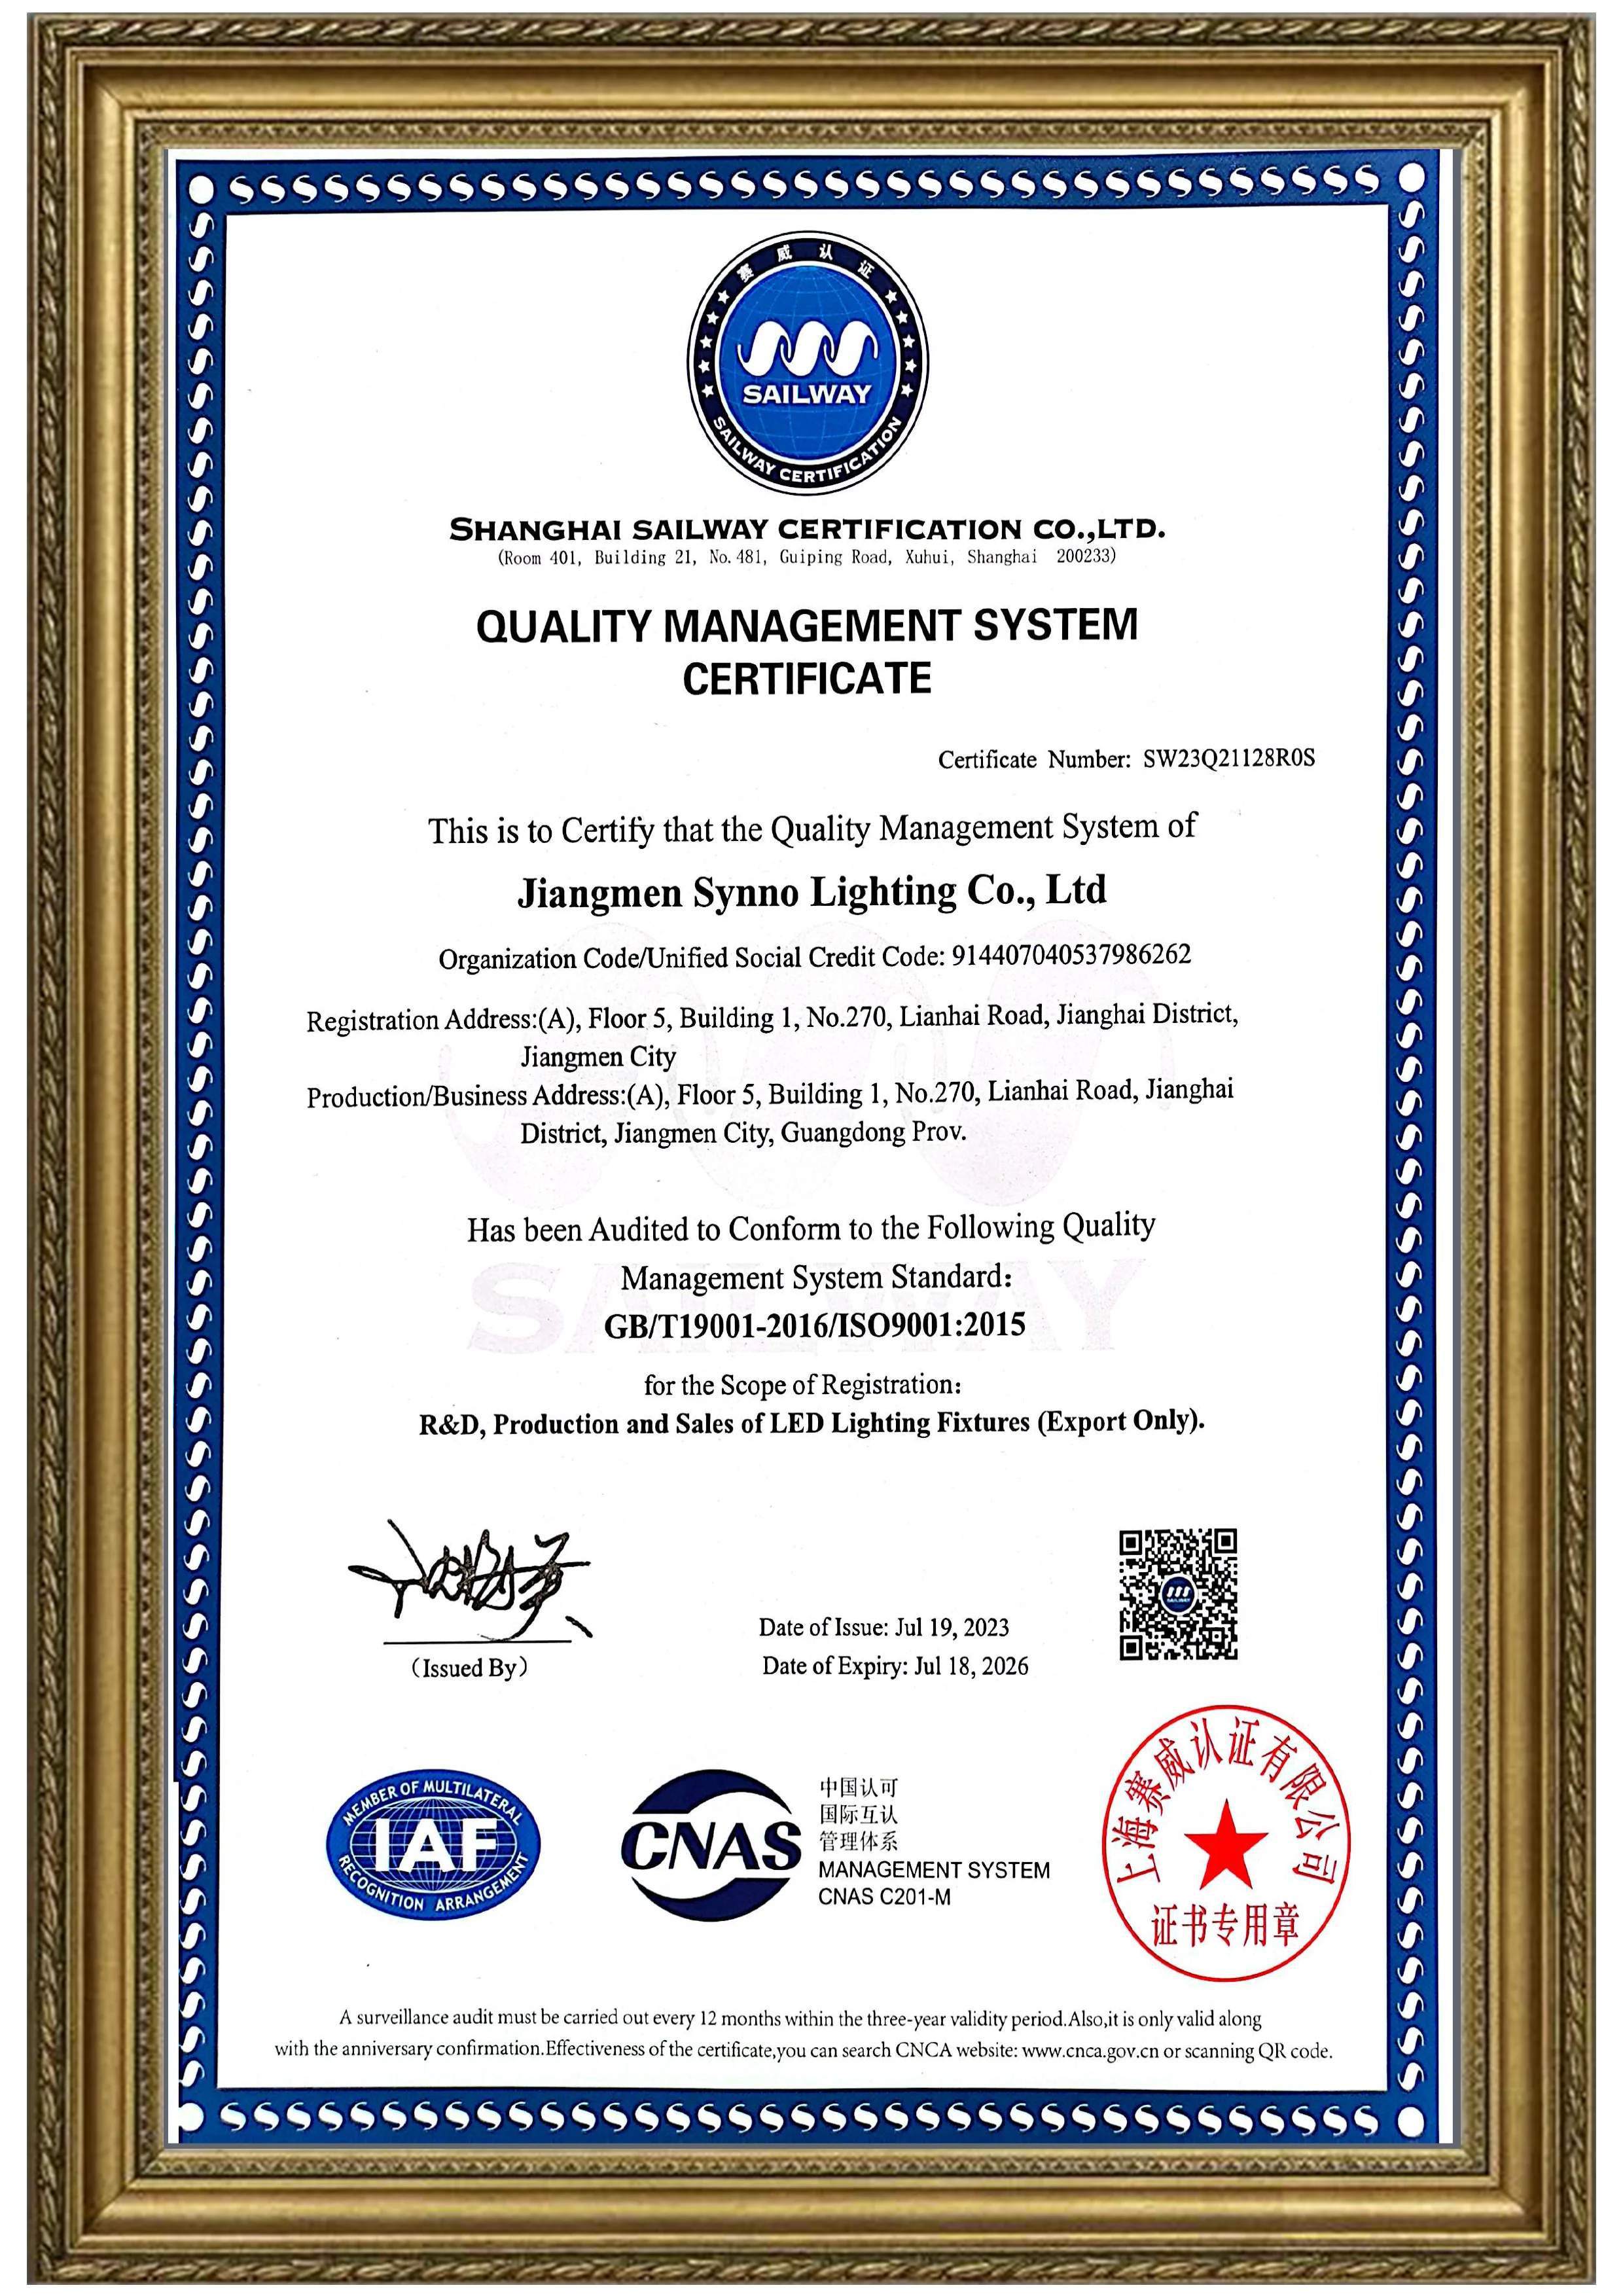
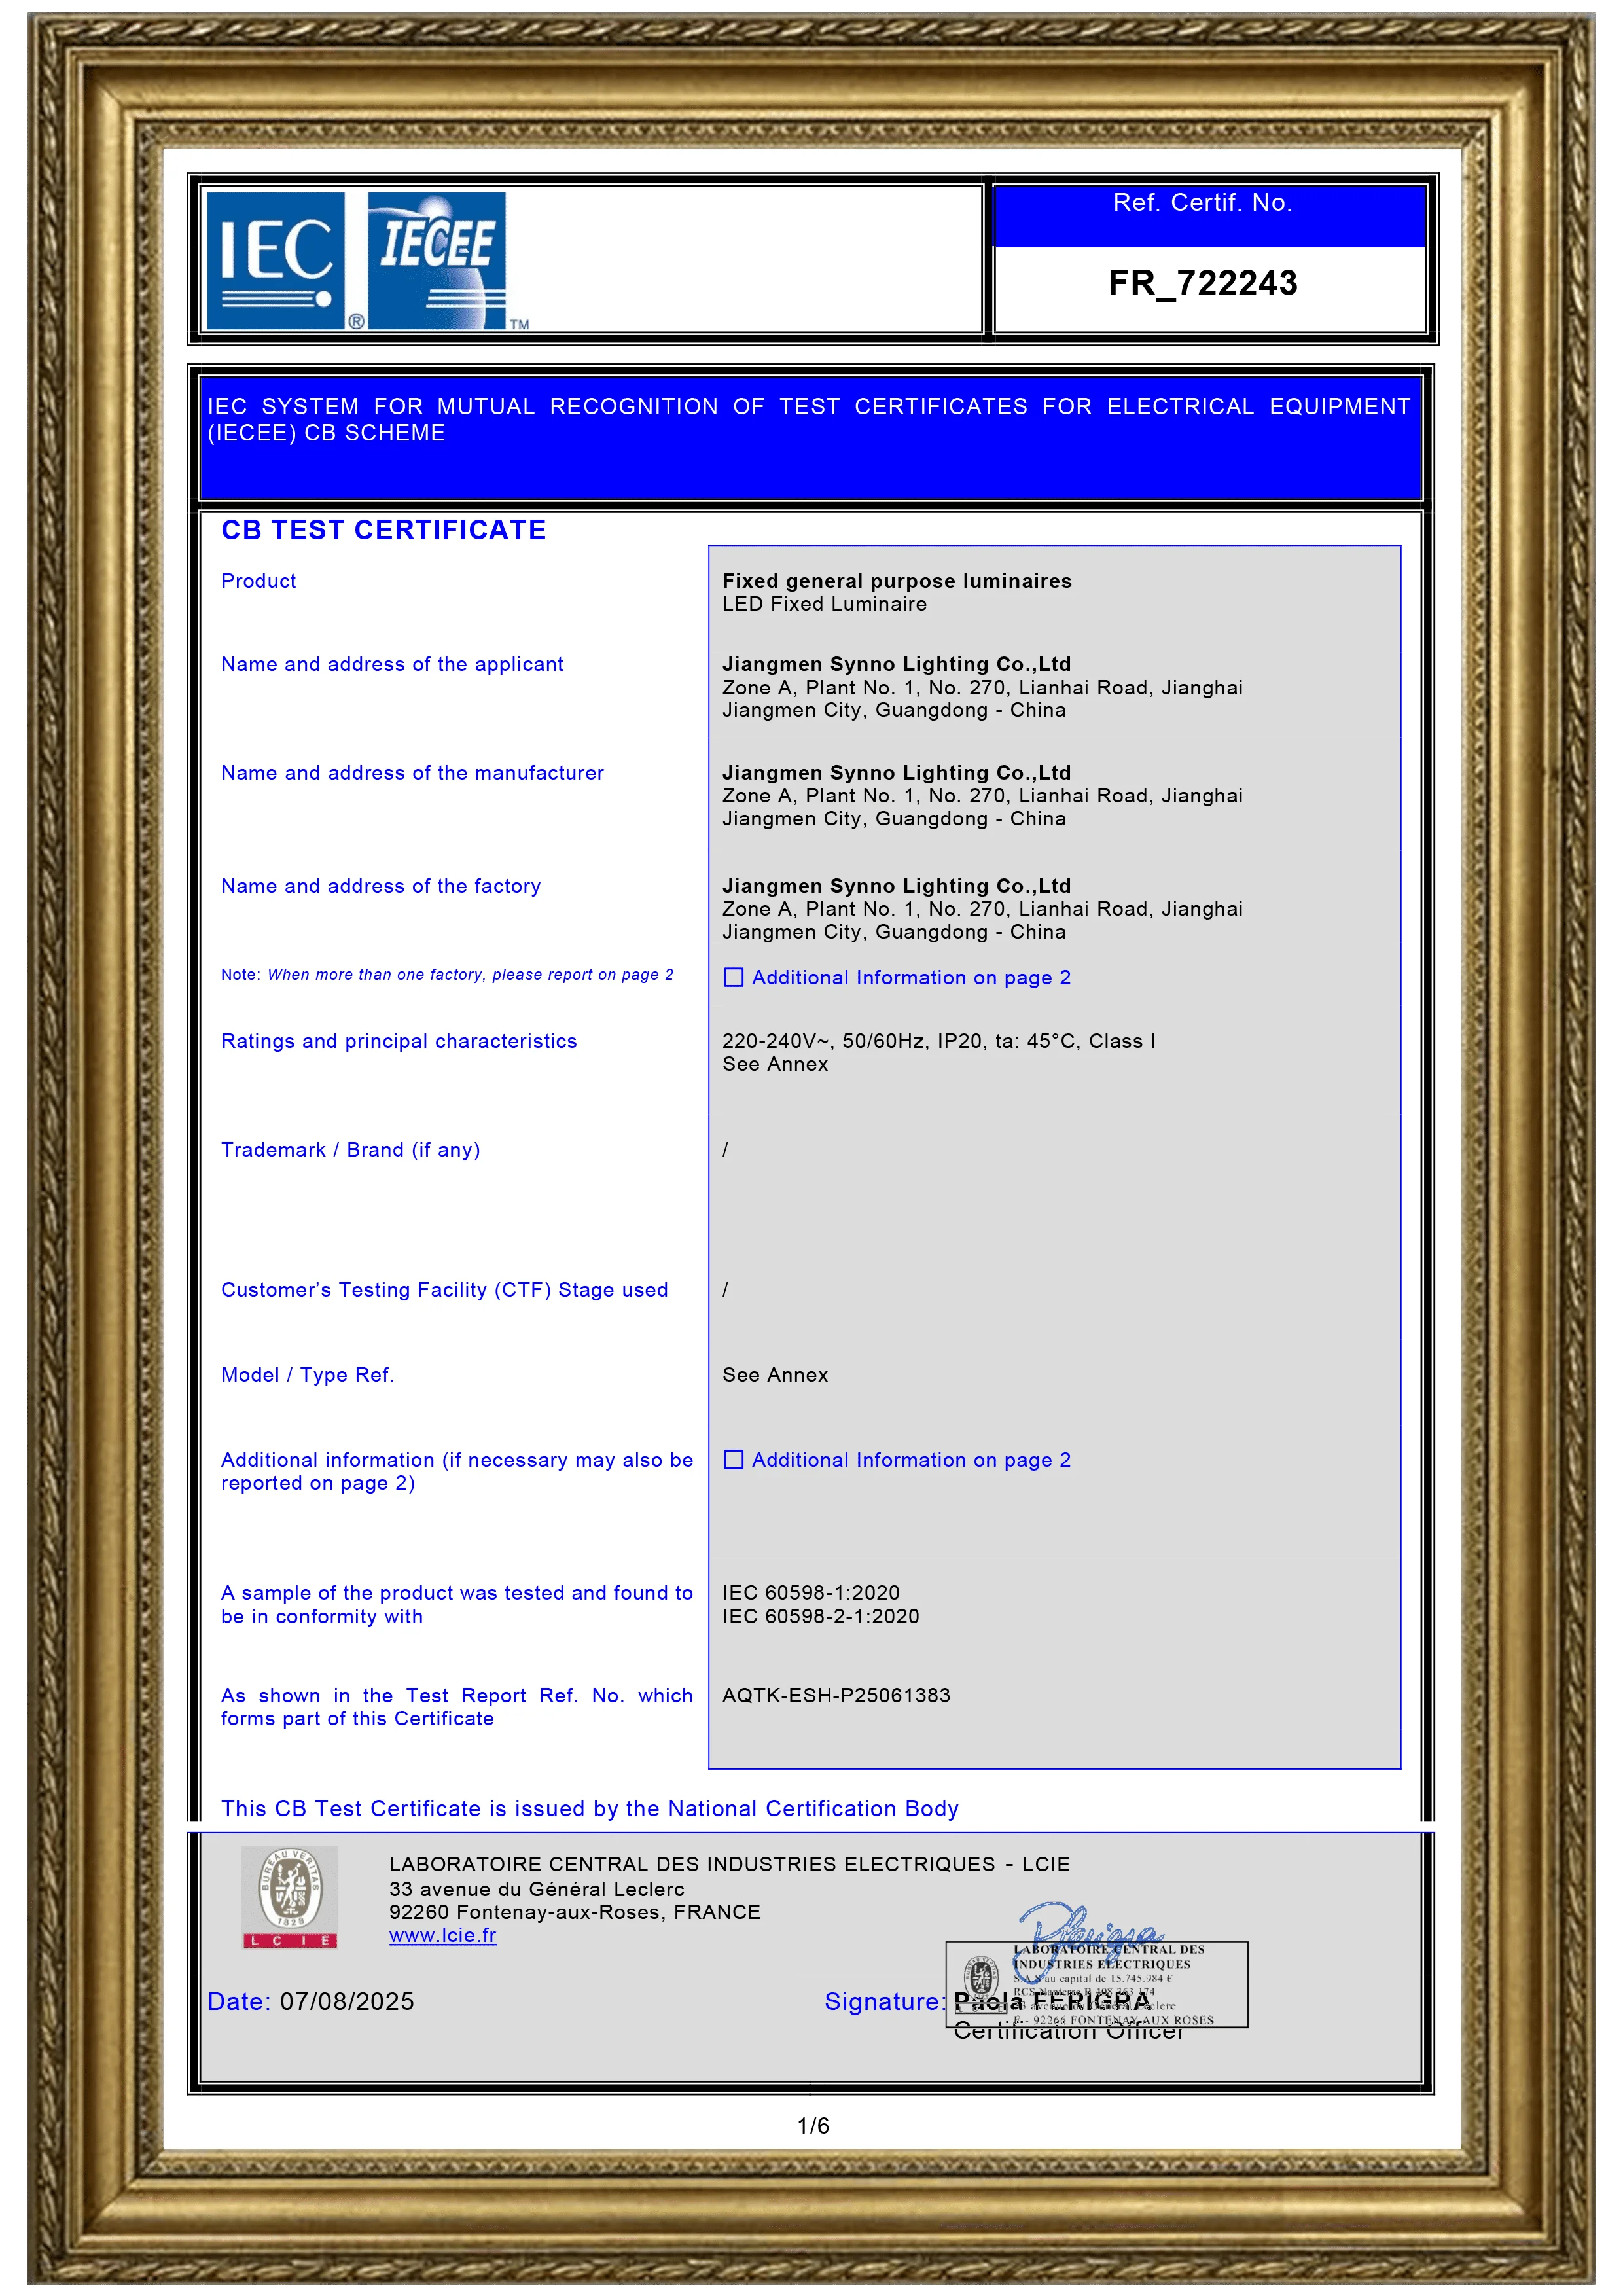
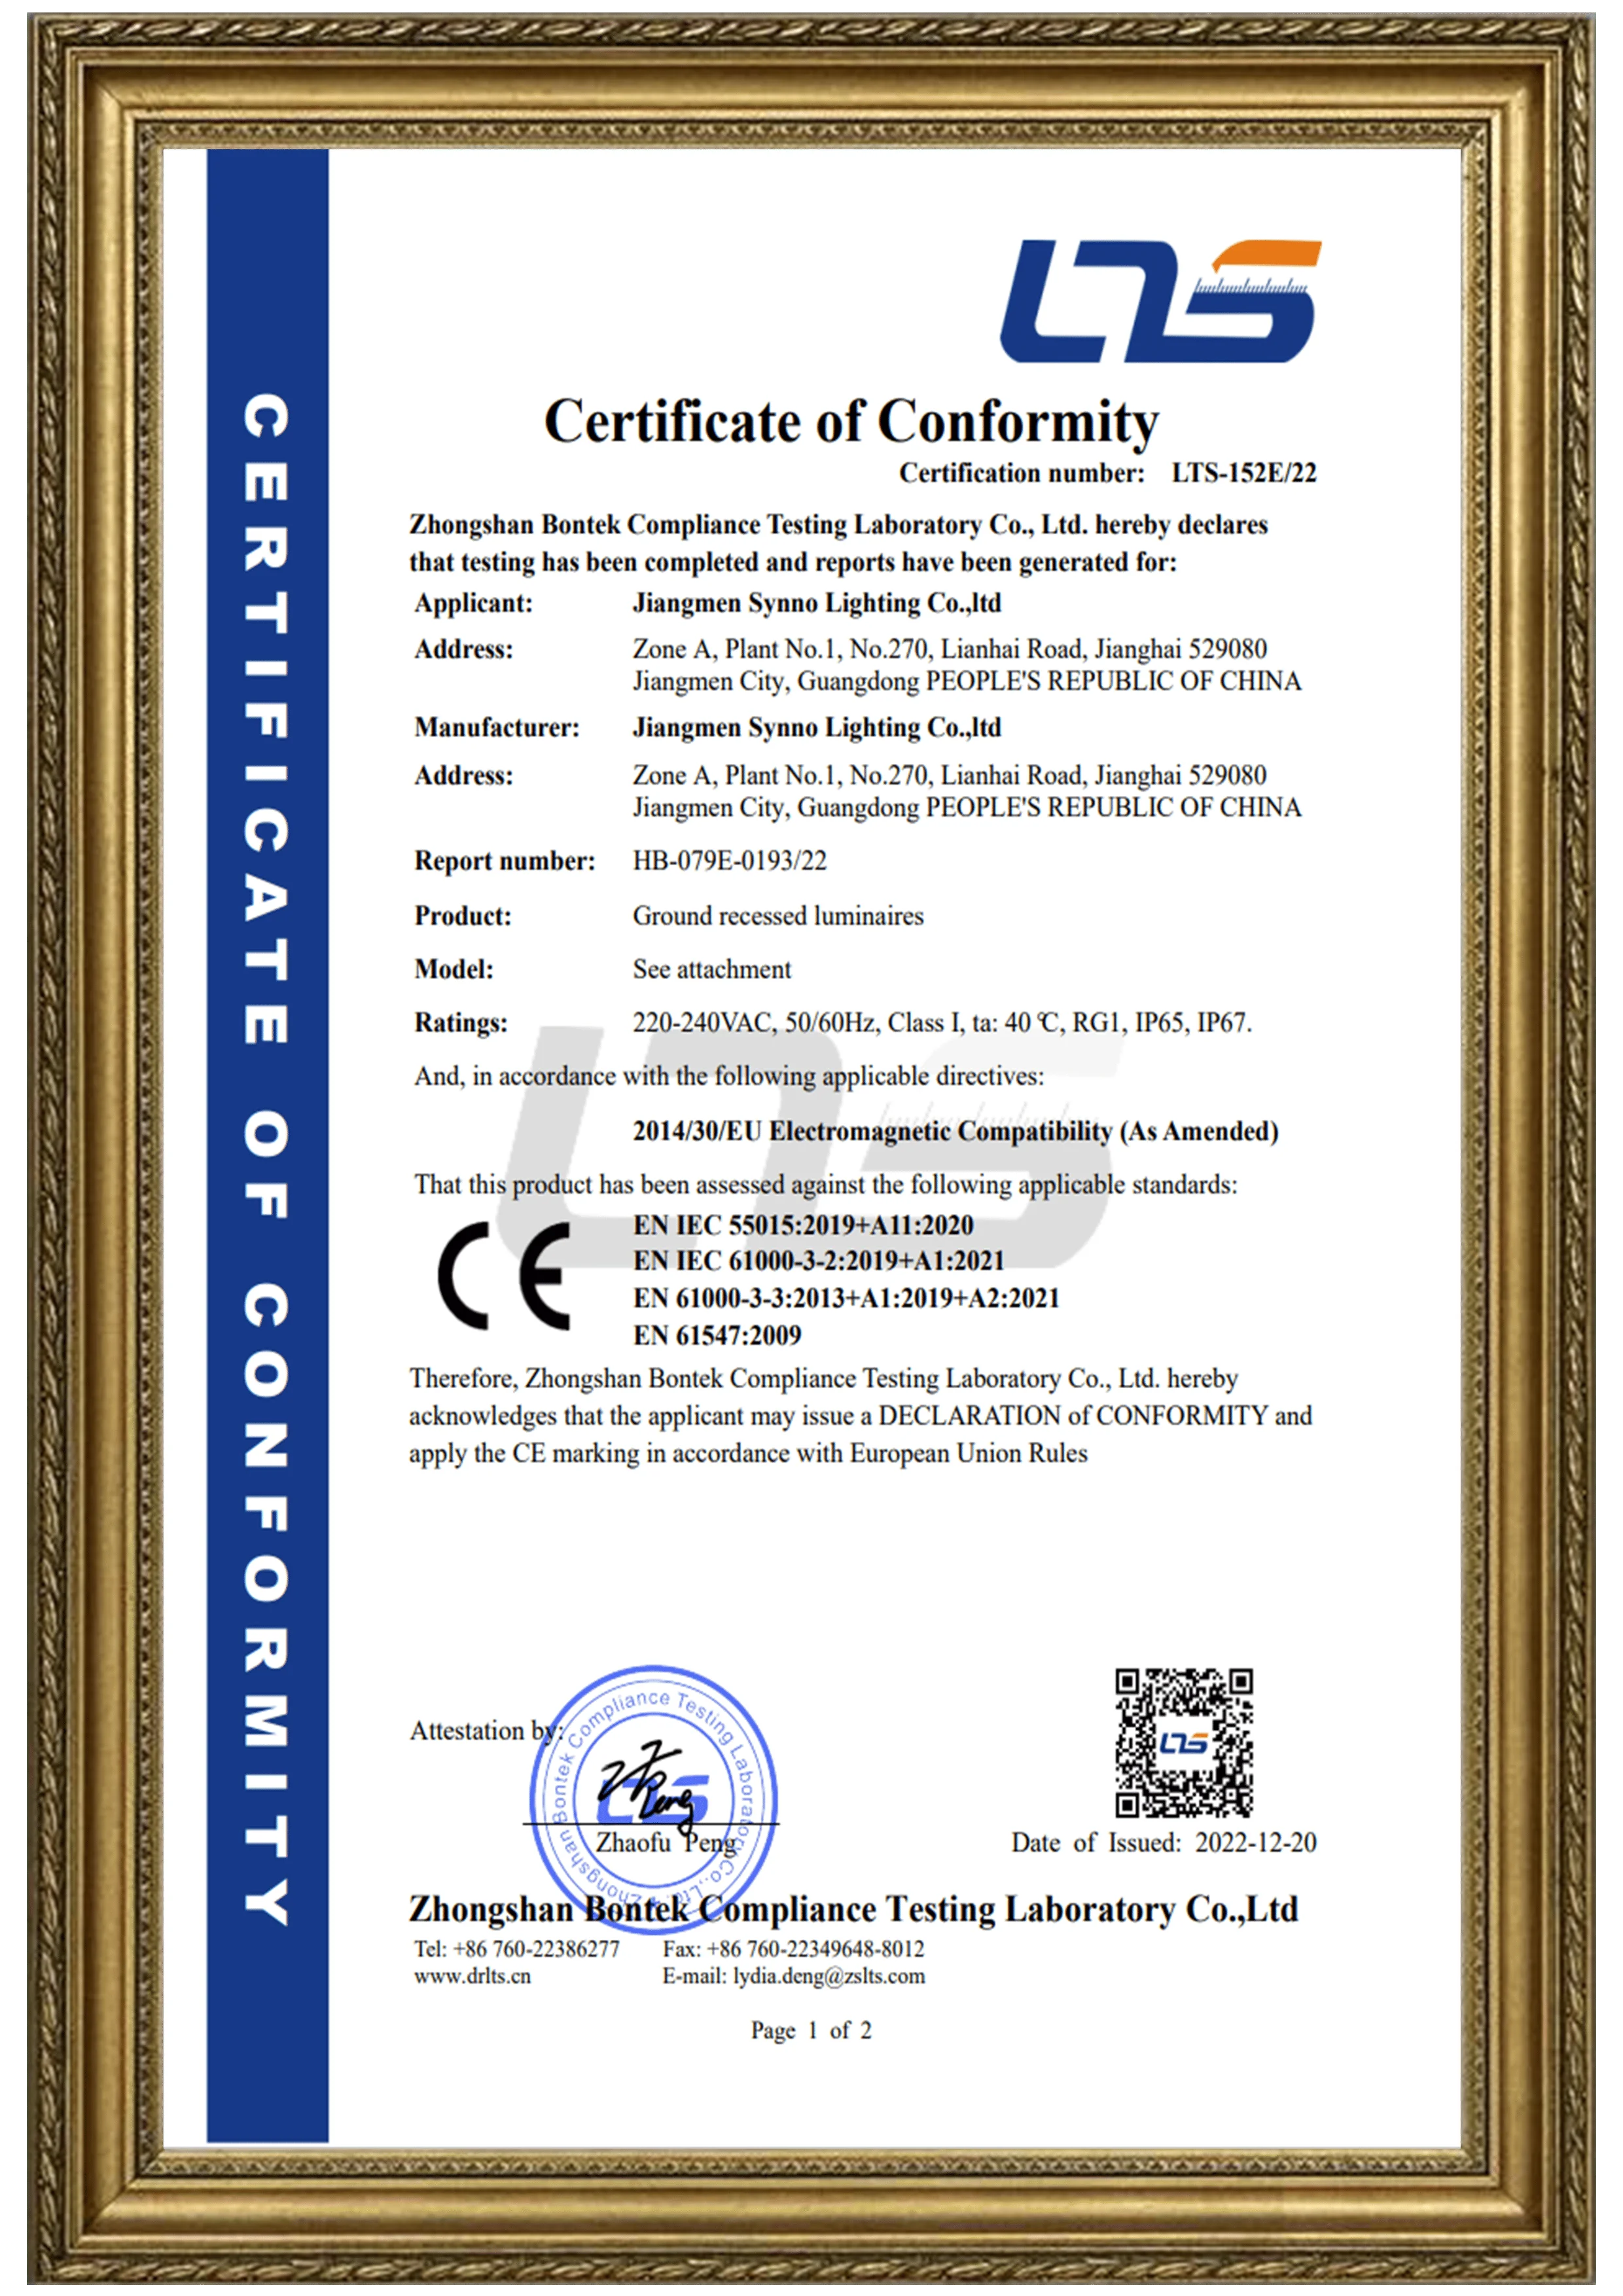
All products come with international certifications (CE, RoHS, UL, etc.) and are manufactured with top-grade materials like aluminum alloy housings and PMMA lenses for superior durability and heat dissipation.