How to Install LED Downlight Without an Electrician
Installing LED downlights without the help of a professional electrician may sound intimidating, but with the right guidance, tools, and safety awareness, it is a task that many homeowners and DIY enthusiasts can complete successfully. This article provides a comprehensive, step-by-step guide to installing LED downlights yourself—safely, legally, and efficiently.
We'll also cover the tools you'll need, safety precautions, and tips on how to choose the right indoor LED downlight for your space.
1. Why Install LED Downlights Yourself?
Cost Savings
Hiring an electrician adds labor costs. Installing them yourself can save hundreds of dollars, especially for larger renovations or whole-home upgrades.
Customization
DIY allows you to position fixtures exactly where you want them, giving you full control over the aesthetics and lighting layout.
Simplicity of LED Technology
Modern LED downlights, especially plug-and-play or surface-mounted options, are designed to be easy to install, even for beginners.
2. Tools and Materials You'll Need
Before beginning, gather the following:
Tools:
-
Drill with hole saw attachment (usually 70mm–90mm)
-
Tape measure
-
Stud finder
-
Screwdriver set
-
Wire stripper and cutter
-
Voltage tester or multimeter
-
Ladder
Materials:
-
LED downlights (recessed or surface mount)
-
Power plugs or driver (depending on the product)
-
Electrical connectors (if applicable)
-
Safety goggles and gloves
-
Optional: insulation covers or fire-rated hoods (check local regulations)
Pro Tip: Choose IC-rated LED downlights if you're installing into insulated ceilings—they are safe for contact with insulation material.
3. Step-by-Step Installation Guide
Step 1: Choose the Right LED Downlight
Before cutting holes in your ceiling, choose the most suitable product:
-
Recessed LED downlights (most common for homes and offices)
-
Surface-mounted LED downlights (easier for concrete ceilings or retrofits)
-
Dimmable or smart-enabled downlights (for added flexibility)
Make sure to match:
-
Wattage to room brightness needs
-
Color temperature (e.g., warm white 3000K for bedrooms, cool white 6000K for kitchens)
-
CRI (Color Rendering Index) of 80+ for good color accuracy
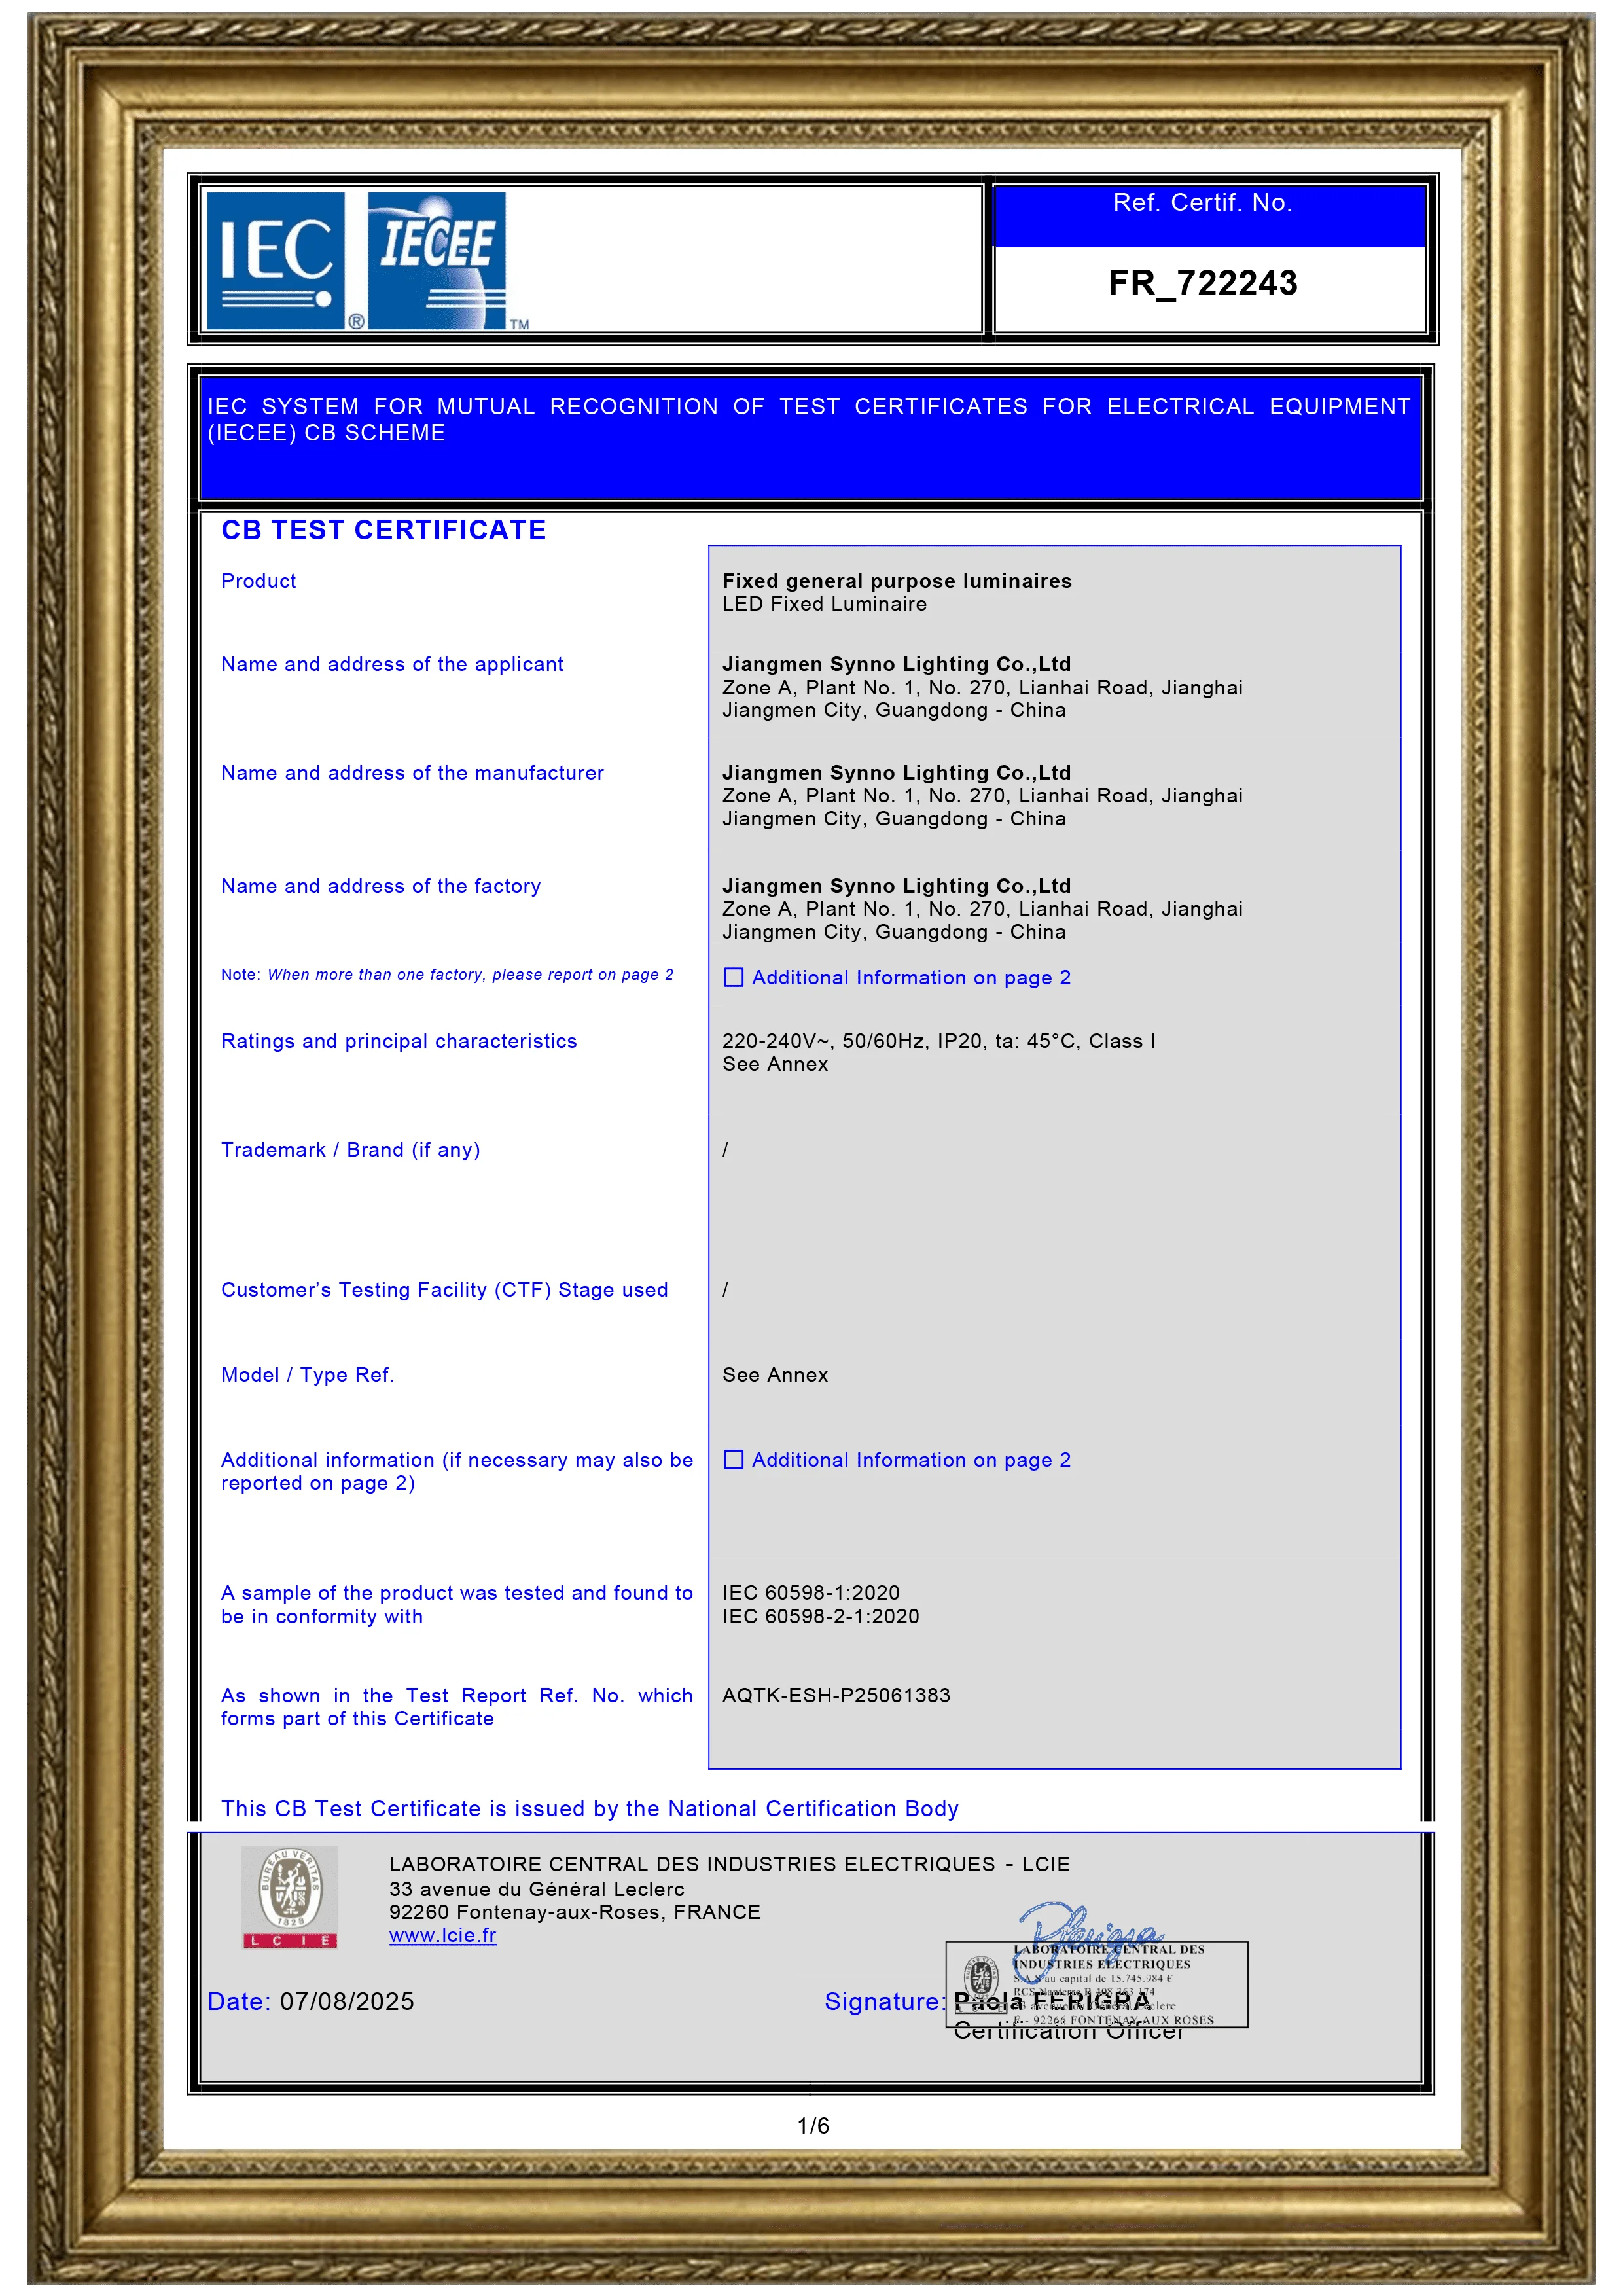
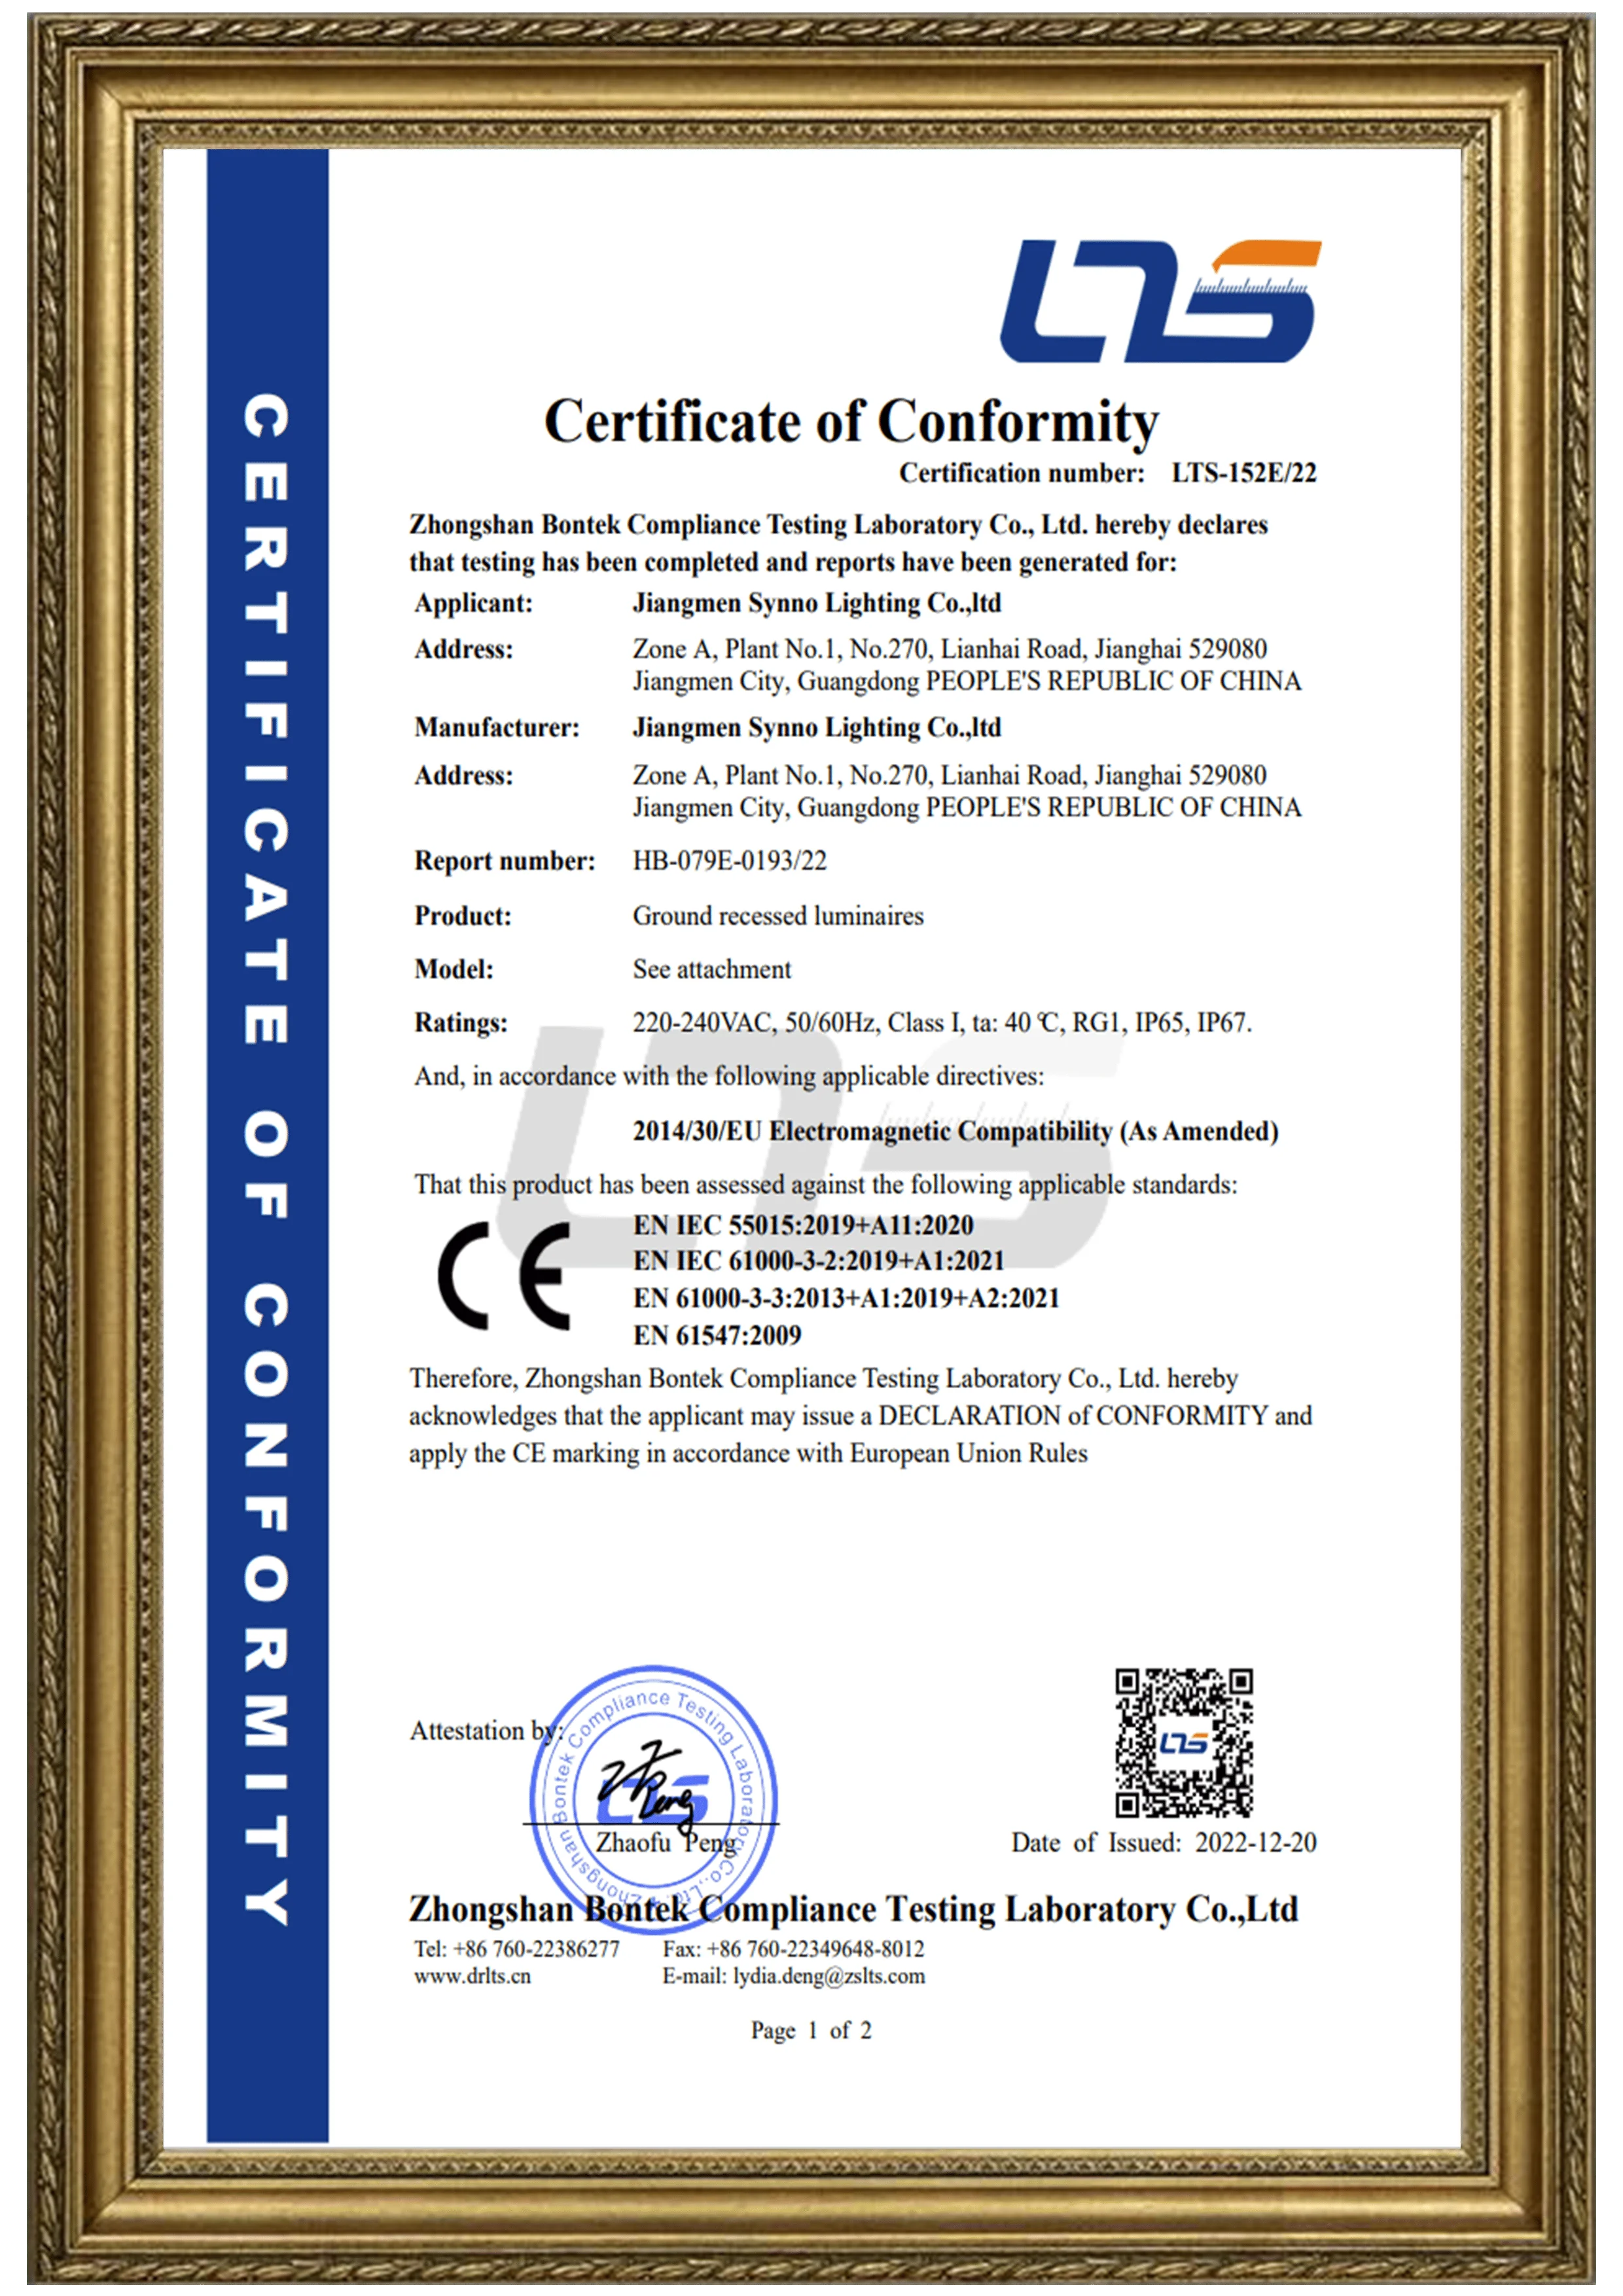
Also confirm that the product is compliant with safety certifications like CE, RoHS, or UL.
Step 2: Locate Your Downlight Positions
Use a tape measure and mark where you want each downlight on the ceiling. Follow the lighting layout rule:
-
Space fixtures 1.5–2 meters apart
-
Keep lights at least 0.5 meters from walls
-
Place lights above key task areas (e.g., countertops, reading spaces)
Use a stud finder to ensure you're not drilling into joists or pipes.
Step 3: Turn Off the Power
Always shut off the circuit breaker before touching any electrical wires. Use a non-contact voltage tester to ensure there is no live power running to the lighting wires.
Safety First: This is the most critical step. Never attempt to work on live circuits.
Step 4: Cut the Ceiling Hole
Using your hole saw and a drill, cut out the ceiling opening according to the manufacturer's cut-out size (usually 75–90mm). Clear away any debris, and double-check that the area behind is free from wires or insulation.
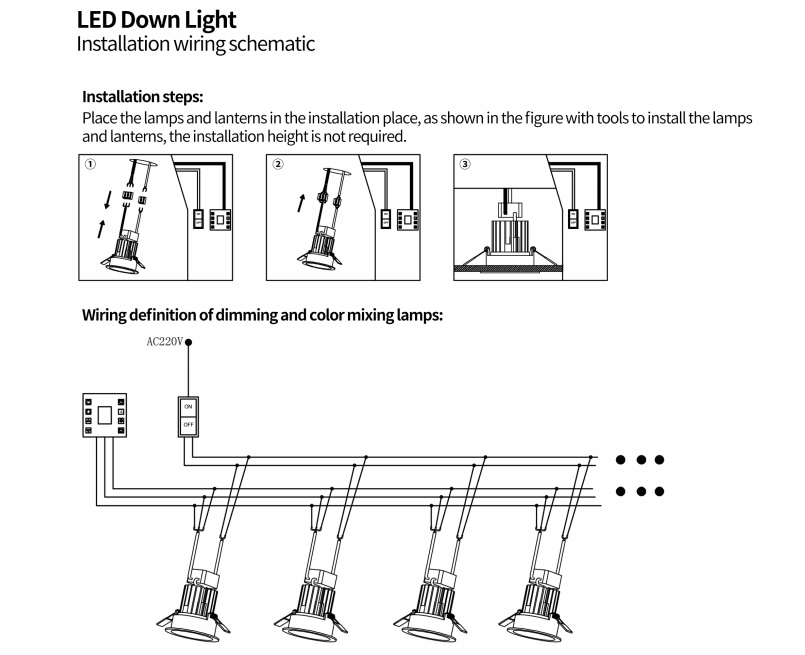
Step 5: Wiring the Downlight
Depending on the product, wiring can be:
A. Plug-and-Play (Easiest for DIY)
Some downlights come with a plug-in transformer that connects to a ceiling socket. If your ceiling has a standard plug base, this is a tool-free installation.
Steps:
-
Plug the LED driver into the ceiling socket
-
Connect the downlight via quick-connector
-
Tuck wires safely above the ceiling
B. Hardwired (Requires Basic Electrical Knowledge)
If you have loose wires from an old fixture or junction box:
-
Strip about 10mm of insulation off each wire.
-
Connect:
-
Live (Brown or Red) to L terminal
-
Neutral (Blue or Black) to N terminal
-
Earth (Green/Yellow) to E (if required)
-
-
Use push-fit connectors or screw terminals depending on the fixture.
Pro Tip: Use double-insulated Class II fixtures if you do not have an earth wire.
Step 6: Insert the LED Downlight
Once connected:
-
Squeeze the spring clips on both sides of the downlight
-
Push the unit into the ceiling hole until flush
-
Ensure it is secure and flat with no gaps
Step 7: Restore Power and Test
Turn the circuit breaker back on and test the lights. Check:
-
If the lights switch on correctly
-
No flickering or unusual dimming
-
All units respond to dimmer switches or smart control (if applicable)
If issues occur, turn off power and re-check wiring connections.
4. Important Safety Tips
-
Never attempt installation when the power is on.
-
If you encounter unfamiliar wires or damaged cables, stop immediately and call an electrician.
-
Use fire-rated downlights in compliance with building codes.
-
Use IC-rated fixtures if surrounded by insulation.
-
Avoid overloading the circuit—check your breaker’s capacity.
5. Common Mistakes to Avoid
-
Using non-dimmable downlights on dimmer switches (causes flickering)
-
Cutting the wrong hole size
-
Not checking voltage compatibility (some downlights are 12V, others 220–240V)
-
Failing to secure wiring with proper connectors
-
Ignoring local electrical codes and safety regulations
6. Advantages of LED Downlights
Let’s take a moment to understand why LED downlights are the go-to choice for residential and commercial interiors:
✅ Energy Efficiency
-
Save up to 80% on energy bills compared to halogen or incandescent.
-
Long lifespan—up to 50,000 hours.
✅ Sleek Aesthetics
-
Flush ceiling installation for a modern look.
-
Suitable for minimalist or luxury interiors.
✅ Superior Lighting Quality
-
High CRI (80+ or 90+) for accurate color rendering.
-
Adjustable beam angles for customized focus.
✅ Environmental Benefits
-
Mercury-free
-
Lower heat output reduces cooling costs
7. When Should You Call an Electrician?
DIY installation works well only under the following conditions:
-
You are replacing old downlights with similar wiring.
-
You’re installing plug-and-play models into existing ceiling sockets.
-
You have basic DIY and electrical safety knowledge.
You must call a licensed electrician if:
-
You’re installing new wiring or circuits.
-
Your installation requires a permit or inspection.
-
You experience power loss or short circuits.
-
Your local code mandates licensed work.
8. Best LED Downlight Options for DIY Installation
When choosing LED downlights for easy DIY installation, look for:
-
Integrated driver models
-
Plug-in ceiling socket compatibility
-
Quick-connect wiring terminals
-
Slim-profile design for shallow ceilings
-
Dimmable & color temperature adjustable
Some of the best downlight options include:
-
Surface-Mounted LED Downlights – Great for retrofitting without cutting
-
Recessed LED Downlights with Magnetic Trim Rings
-
Smart LED Downlights with App Control and Color Adjustment
Our factory provides a wide range of indoor LED downlights, tailored for residential and commercial use, including IC-rated, dimmable, and plug-and-play models—perfect for DIY or contractor installation.
Conclusion: Light Up Your Space—No Electrician Required
Installing LED downlights yourself can be a rewarding and cost-effective project. With the right preparation, tools, and product choice, it’s possible to safely install professional-quality lighting in your home or office—without hiring an electrician.
By following this guide, you’ll be empowered to:
-
Select the right LED downlight
-
Plan your lighting layout
-
Complete the installation process step-by-step
-
Avoid common DIY mistakes
Ready to upgrade your space with premium LED lighting solutions?
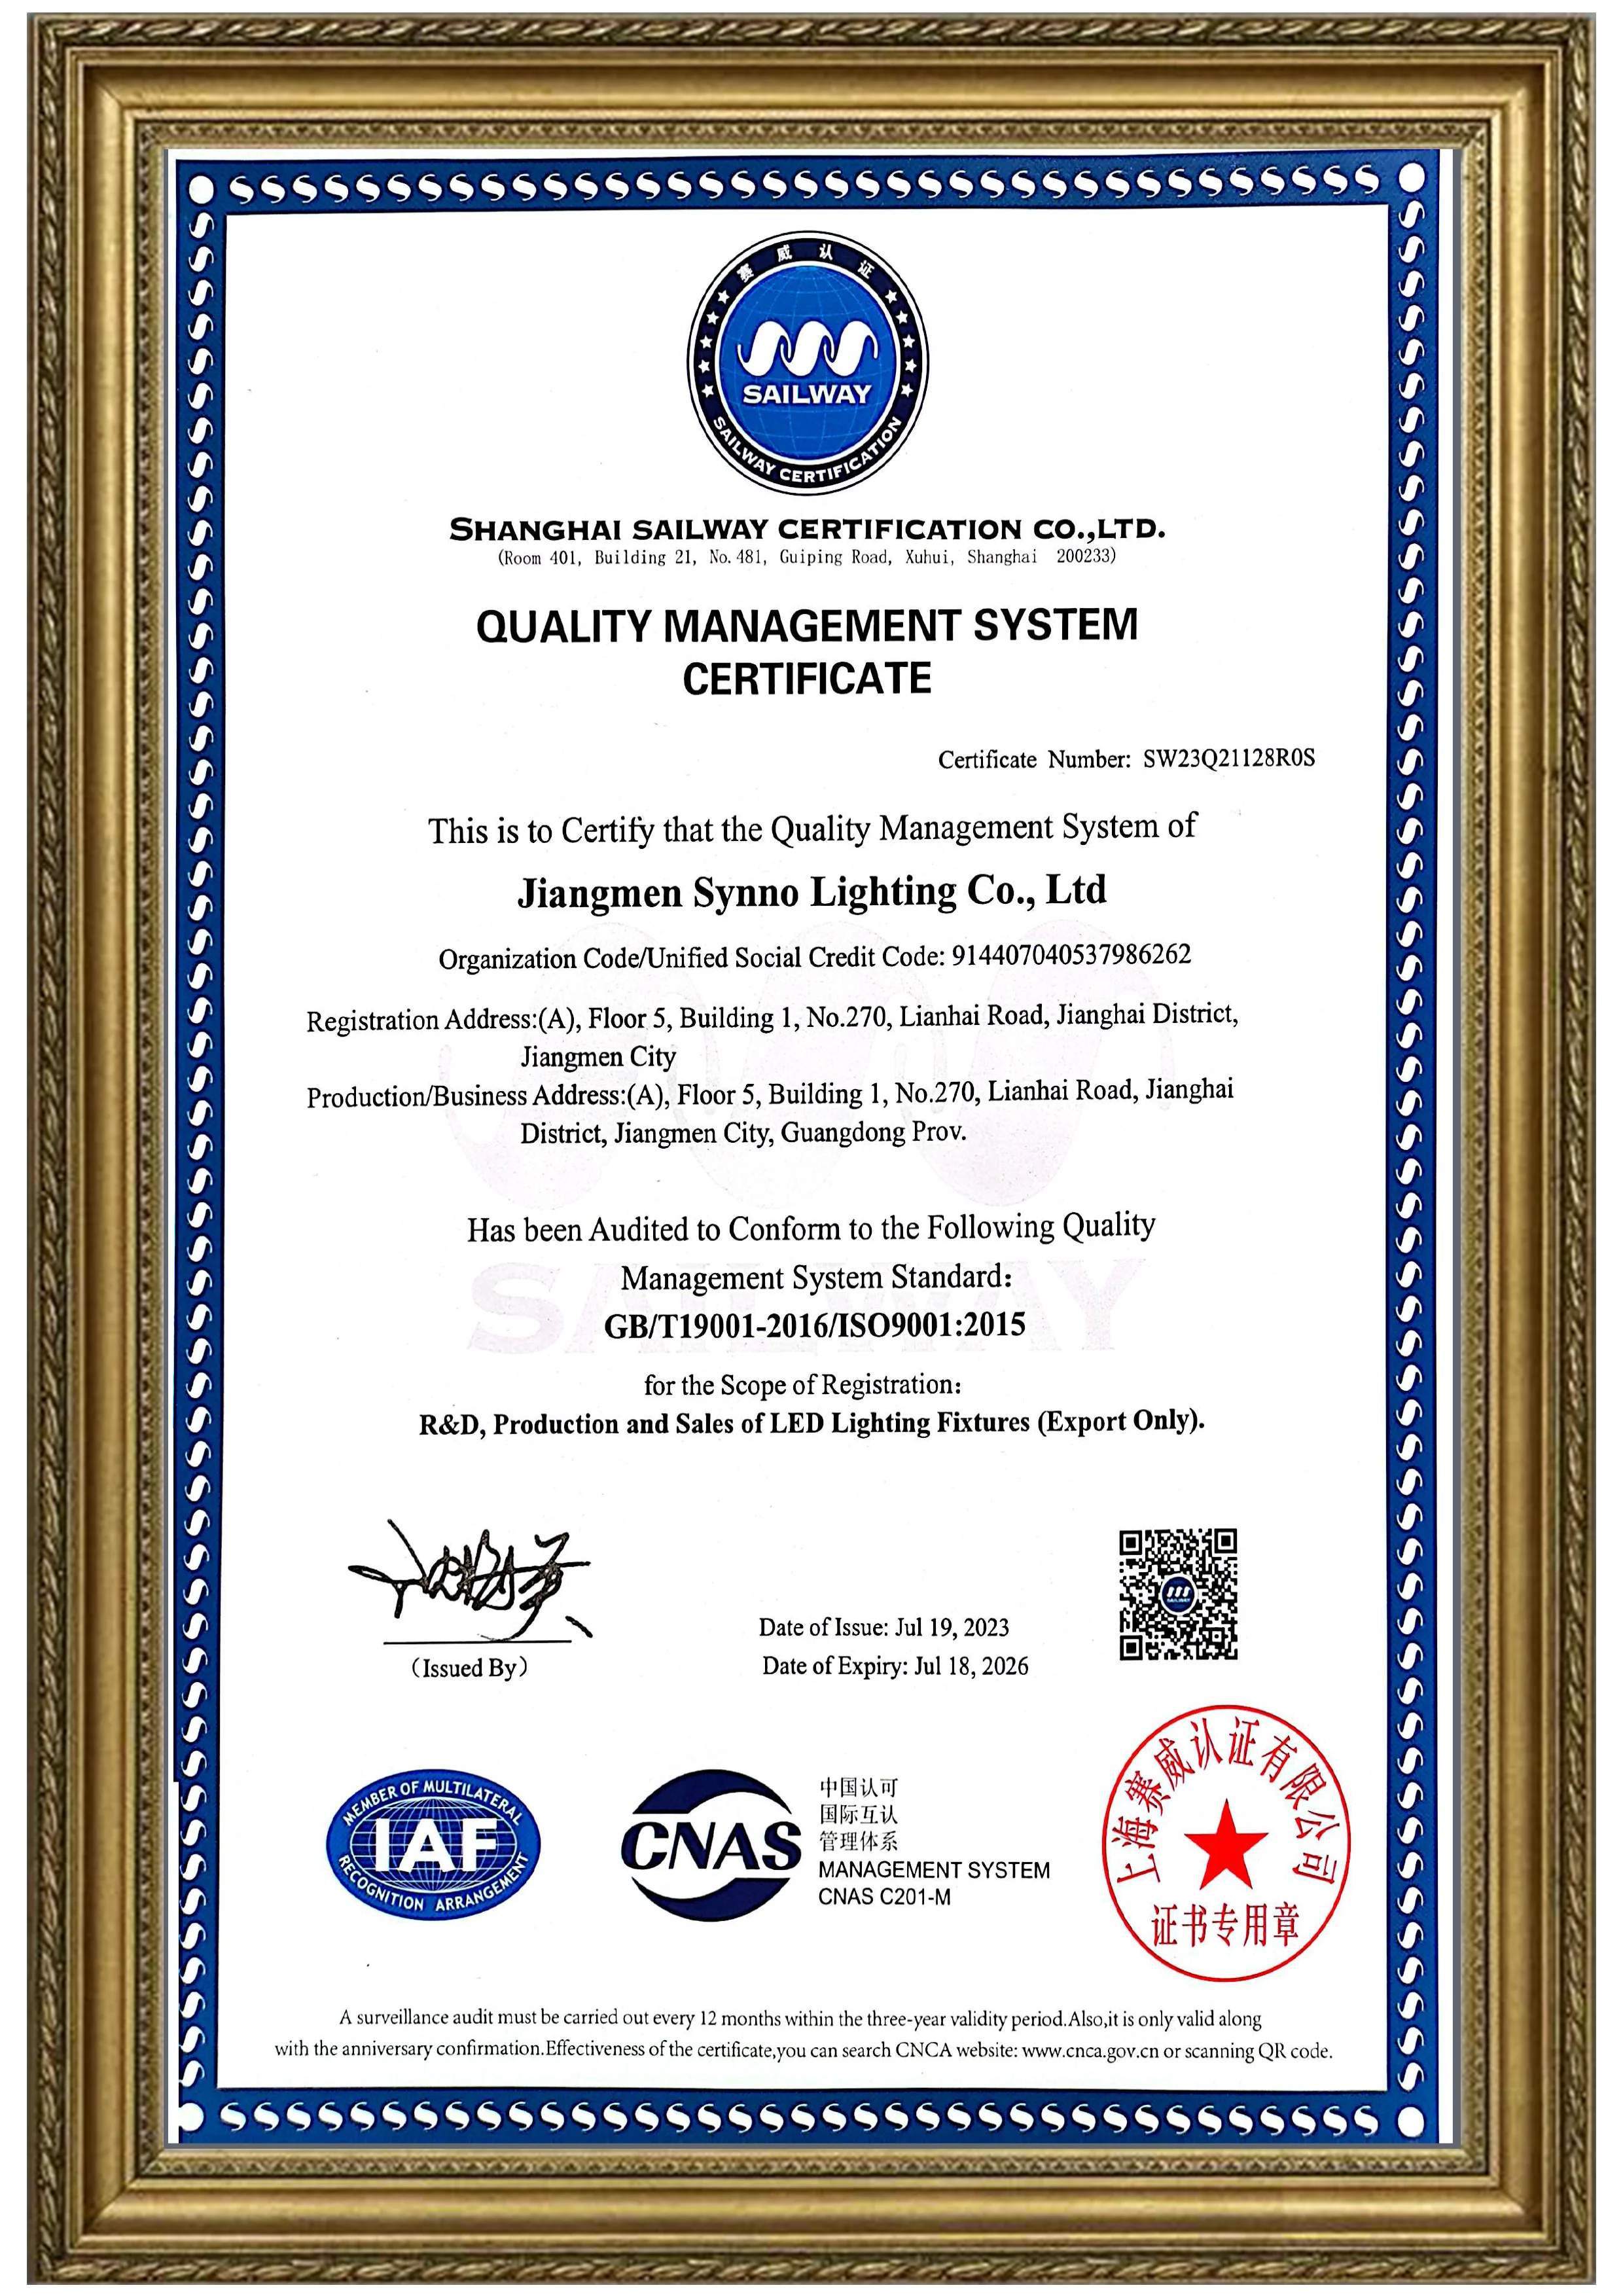
Explore our collection of LED downlights, spotlights, and track lighting—designed for both professionals and homeowners. All products are CE, RoHS certified, and backed by quality assurance.
Contact us now or request a product catalog to get started with your lighting upgrade today.